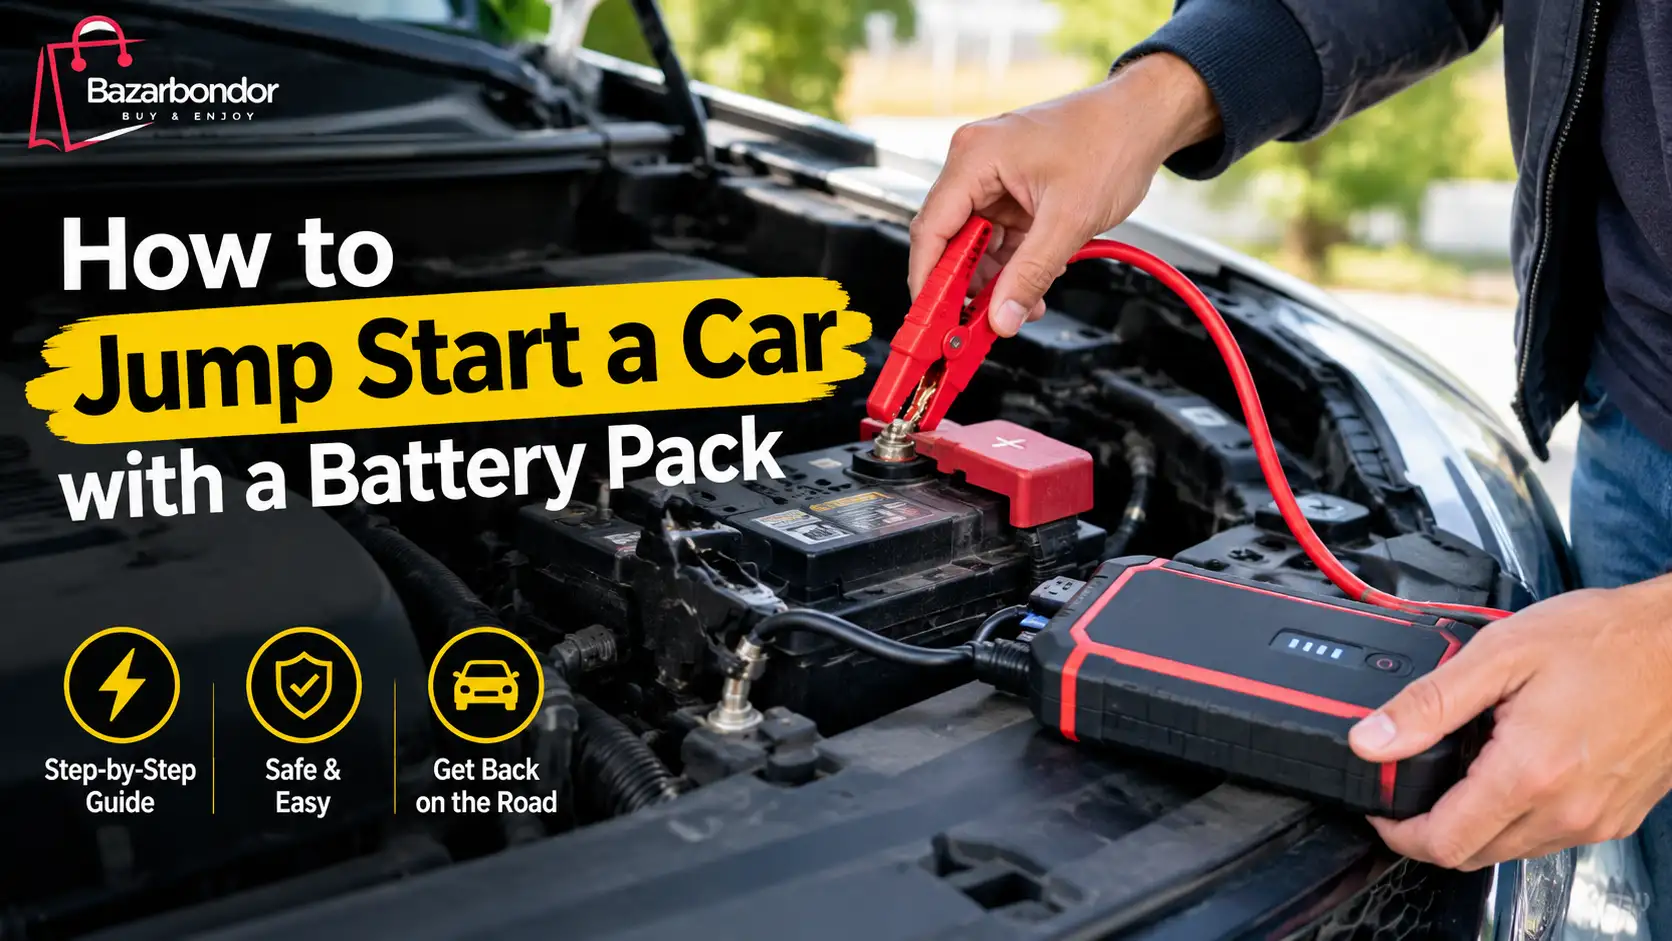
Knowing how to jump start a car with a battery pack saves you from waiting hours for roadside assistance. It puts control back in your hands when your vehicle refuses to turn over. You don’t need another running car or complex tools to get moving again.
This guide walks you through the safe, expert-approved method for modern portable units.
Portable jump starters typically deliver between 400 and 2000 peak amps, according to SAE J1242 standards. But raw power isn’t enough if you connect it incorrectly. One wrong move can fry your engine computer or cause a battery explosion.
Let’s look at why precision matters more than speed here.
Why One Wrong Clamp Order Can Fry Your ECU or Blow Up a Battery
Most people think jump starting is just about getting electricity flowing. They grab cables, clip them on, and hope for the best. That casual approach worked decades ago with simple lead-acid systems.
Today’s cars are different beasts entirely. Modern vehicles rely on sensitive electronic modules that cost thousands to replace.
A portable battery pack sends a massive surge of current instantly. If you reverse polarity, even for a split second, you send voltage backward through protected circuits. The Engine Control Unit (ECU) regulates fuel injection and ignition timing.
It has delicate transistors that cannot handle reversed input. One spark near the wrong terminal can short out these components permanently.
Hydrogen gas is another invisible threat. Lead-acid batteries emit this explosive vapor during charging and discharging. It accumulates around the terminals.
A tiny spark from clamping the negative cable last can ignite this gas. The result is a violent rupture of the battery casing. Acid sprays everywhere, causing burns and eye damage.
We’ve seen aggregate reports where users lost entire dashboard clusters because they connected the ground clamp to the battery negative terminal first. The voltage spike traveled up the chassis wiring harness. It overwhelmed sensors designed for stable 12V inputs.
Always treat the connection sequence as a critical safety protocol, not a suggestion.
The Hard Truth About Portable Jump Starters vs. Traditional Cables
Traditional jumper cables require a donor vehicle. You have to find someone willing to help, wait for them to arrive, and idle their engine for twenty minutes. It’s inefficient and often impossible in remote areas.
Portable packs eliminate this dependency. They store energy internally using lithium-ion polymer cells.
However, convenience comes with trade-offs. Cheap generic packs often lack robust protection circuitry. High-quality units include smart clamps with diodes and fuses.
These prevent reverse polarity connections from damaging either the pack or the car. Without them, you’re gambling with expensive electronics.
Here is how the two methods stack up against real-world scenarios:
| Feature | Portable Battery Pack | Traditional Jumper Cables |
|---|---|---|
| Dependency | None (self-contained) | Requires a working donor vehicle |
| Setup Time | Under 2 minutes | 5–10 minutes (positioning cars) |
| Safety Risk | Low (with smart clamps) | High (sparks, acid exposure) |
| Voltage Stability | Regulated output | Fluctuates with donor RPM |
| Storage Space | Compact (glovebox size) | Bulky (trunk storage) |
| Cost | $80–$300 upfront | $20–$50 upfront |
Notice the voltage stability column. Donor vehicles must rev their engines to push enough amperage. This creates fluctuating voltage spikes.
Portable packs maintain a steady 12V nominal output until the cranking load drops. This consistency protects your alternator and sensitive ECUs from shock loads.
For most drivers, the portability outweighs the initial cost. You aren’t buying a gadget; you’re buying independence. As of 2026, entry-level models offer sufficient power for sedans and small SUVs.
Diesel trucks still benefit from higher-capacity industrial units, but the principle remains the same.
Identifying Your Car’s Specific Electrical Needs Before You Buy
Not all dead batteries are created equal. The reason your car won’t start dictates whether a jump is even possible. First, check for physical damage.
Look at the battery case. Is it swollen, cracked, or leaking white powder? If yes, do not attempt a jump.
The internal plates may be shorted. Jumping a damaged battery risks thermal runaway.
Next, determine your engine type. Gasoline engines generally need less cranking amps than diesel engines. Diesels compress air significantly harder before ignition.
They require more torque to turn the starter motor. A standard 600-amp pack might struggle with a large displacement diesel. You’ll need a unit rated for 1500+ peak amps.
Consider your climate too. Cold weather thickens engine oil and slows chemical reactions inside the battery. At -10°C (14°F), a healthy battery loses nearly half its effective capacity.
Your jump starter must compensate for this loss. Manufacturer specifications usually list performance at room temperature. Adjust your expectations downward for winter starts.
Stop-start technology adds another layer of complexity. Many modern hybrids and mild-hybrid systems use Absorbent Glass Mat (AGM) batteries. These hold a charge better but resist charging differently.
Some basic jump packs cannot properly recharge an AGM battery due to voltage limits. Using the wrong charger can sulfate the plates prematurely. Check your owner’s manual for battery type recommendations.
If you drive a hybrid, remember there are two batteries. The high-voltage traction battery powers the wheels. The 12V auxiliary battery runs lights, radios, and computers.
Only the 12V system needs jumping. Never touch the orange high-voltage cables. Stick strictly to the standard 12V terminals under the hood.
Decoding Peak Amps, Watt-Hours, and What Actually Starts an Engine
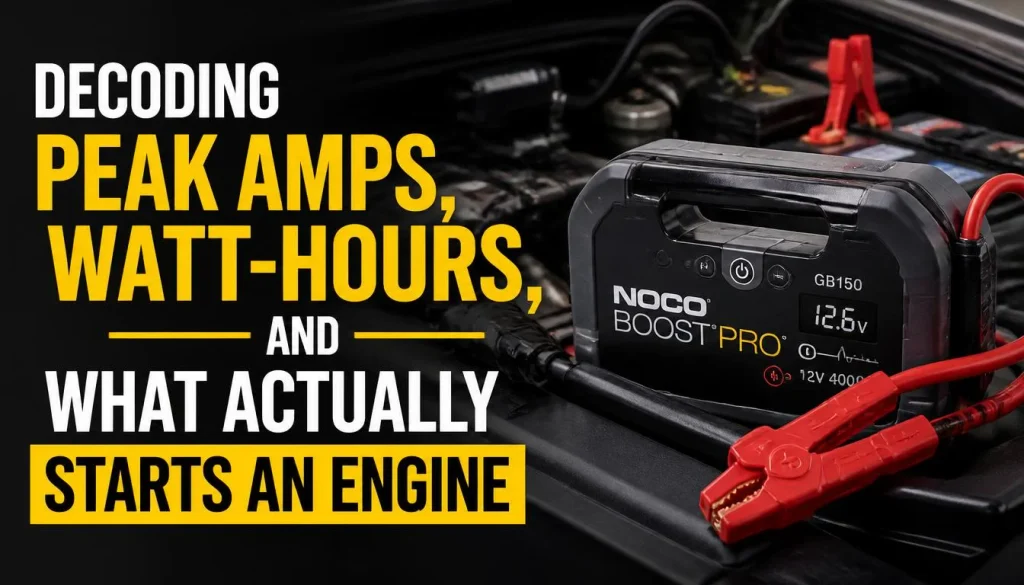
Marketing numbers confuse many buyers. “Peak Amps” sounds impressive, but it’s a momentary burst rating. It measures the maximum current the pack can deliver for three seconds.
This figure determines if the starter motor turns fast enough to fire the engine. Higher peak amps mean easier starts in cold conditions.
Continuous Amps matter less for jumping but more for reliability. This is the sustainable output level. Most quality packs sustain 200, 400 amps continuously.
Ensure your chosen model meets the minimum requirement for your vehicle class. Undersizing leads to failed attempts and drained packs.
Watt-hours (Wh) measure total energy storage capacity. Think of this as the fuel tank size for your jump starter. A higher Wh rating means more jumps per charge.
It also allows the unit to function as a power bank for phones or laptops. For emergency preparedness, aim for at least 500Wh.
Here’s a quick reference for matching pack specs to vehicle types:
- Motorcycles & Small Cars: 400, 600 Peak Amps, 200, 400 Wh
- Sedans & Compact SUVs: 800, 1000 Peak Amps, 400, 600 Wh
- Mid-size Trucks & Large SUVs: 1200, 1500 Peak Amps, 600, 1000 Wh
- Heavy Duty Diesels: 2000+ Peak Amps, 1000+ Wh
Don’t obsess over the highest number available. Oversized units are heavier and more expensive. Match the spec to your heaviest common vehicle.
If you occasionally tow a boat, rent a heavy-duty booster instead of carrying one daily. Practicality beats excess power every time.
Also, verify the cable gauge. Thin wires create resistance, reducing effective amperage reaching the engine. Look for AWG ratings below 10 for serious jumping tasks.
Integrated clamps should feel solid, not flimsy. Poor contact increases heat and reduces efficiency. Quality construction ensures the stated amps actually reach your starter motor.
The Critical Safety Check: When NOT to Attempt a Jump Start
Before you pop the hood, pause and assess. Jump starting is risky if certain conditions exist. Ignoring these warnings can lead to injury or catastrophic vehicle damage.
We categorize these red flags into three groups: battery health, environmental hazards, and mechanical failures.
First, inspect the battery visually. Swelling indicates internal gas buildup. Cracking suggests structural failure.
Leakage exposes you to sulfuric acid. In any of these cases, abort immediately. Replace the battery instead of jumping it.
Handling compromised cells requires protective gear and proper disposal protocols.
Second, evaluate the surroundings. Are you in a confined space like a garage without ventilation? Hydrogen gas accumulates quickly.
Sparks can ignite it. Move the vehicle outside if possible. If you must work indoors, ensure fans run and no open flames exist nearby.
Keep bystanders away from the engine bay during the process.
Third, listen for unusual noises prior to death. Did the starter grind loudly before failing? That suggests a mechanical issue with the flywheel or solenoid.
Jumping won’t fix broken gears. It might worsen the damage by forcing engagement. Similarly, if the engine hydrolocked (water in cylinders), cranking will bend rods.
Verify no water intrusion occurred recently.
Finally, check the jump starter itself. Does the unit show error codes? Is the casing hot or deformed?
Damaged lithium cells pose fire risks. Do not use a compromised pack. Store batteries in cool, dry places away from direct sunlight.
Heat accelerates degradation and increases instability.
If any doubt exists, call professional roadside assistance. No ride is worth a hospital visit. Safety always trumps speed.
Step-by-Step Protocol for Connecting Clamps Without Sparks
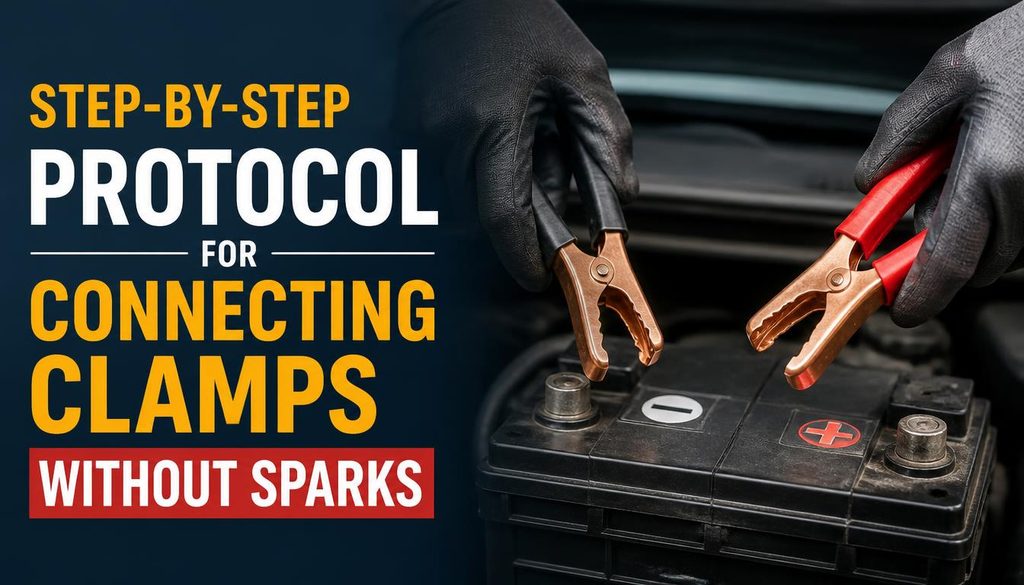
Now we get to the action. Follow this sequence precisely. Deviating invites disaster.
We assume you have a modern smart-clamp portable pack. Older dumb clamps require extra caution regarding spark prevention.
Prepare the Vehicle
Turn off all accessories. Remove keys from the ignition. Switch off headlights, radio, and AC.
Reduce electrical load on the system. Open the hood carefully. Locate the positive (+) and negative (-) terminals on the car battery.
Identify a clean, unpainted metal surface on the engine block or chassis frame. This serves as your ground point. Avoid plastic covers or painted surfaces.
Paint insulates against conductivity.
Connect Positive First
Take the red clamp from the jump starter. Attach it firmly to the positive terminal of the car battery. Ensure full metal-to-metal contact.
Wiggle it slightly to break corrosion layers. Tighten securely if the clamp has a screw mechanism. Do not let the red clamp touch any other metal part yet.
Keep it isolated.
Connect Negative to Ground
Take the black clamp. Attach it to your identified unpainted metal ground point. Not the battery negative terminal.
This distinction is crucial. Connecting to the battery negative completes the circuit right next to potential hydrogen vents. A spark there could explode the gas.
By grounding elsewhere, any spark occurs away from the battery.
Note: If your vehicle lacks accessible bare metal, consult the owner’s manual for designated jump points. Some manufacturers specify particular bolts or brackets. Never clamp onto aluminum parts unless specified.
Aluminum oxidizes rapidly, creating poor contact.
Activate the Pack
Plug the clamp cables into the jump starter unit if they detach. Press the power button. Wait for the indicator light.
Green usually means ready. Red might indicate low charge or fault. Consult your manual for specific LED meanings.
Ensure the unit shows adequate battery life before proceeding.
This order minimizes risk. Positive connects safely while the circuit is open. Negative grounds remotely to isolate sparks.
Activation happens only after secure physical connections. Skipping steps voids safety margins built into modern designs.
Executing the Crank: Timing, Duration, and Failure Indicators

With connections secure, you’re ready to start the engine. Turn the ignition key or press the start button. Do not hold it down indefinitely.
The starter motor draws massive current. Prolonged cranking generates excessive heat. This can warp internal components or drain your pack unnecessarily.
Limit each attempt to five seconds max. If the engine doesn’t catch, release the key immediately. Wait at least thirty seconds before trying again.
This pause lets the starter cool down. It also allows the battery pack’s voltage to stabilize. Rushing this step risks overheating both systems.
Listen closely during those five seconds. A rhythmic “chug-chug” sound is good. It means fuel and spark are likely present.
A rapid clicking noise indicates low power. Your pack might be depleted or faulty. Check the indicator lights on the unit.
If they show full charge, suspect a bad connection.
A single loud “clunk” suggests mechanical binding. Stop instantly. Forcing it further damages gears.
If the engine turns but won’t fire, wait longer between attempts. Fuel pumps need time to prime. Give it another minute of rest.
Try once more. If it fails, stop. You have a deeper issue than just a dead battery.
Never ignore warning signs like burning smells. That’s insulation melting from overload. Disconnect everything immediately.
Let the area ventilate. Safety protocols exist for a reason. Trust your senses over hope.
If something feels wrong, it probably is.
Disconnecting Safely to Prevent Voltage Spikes and Data Loss
Once the engine runs smoothly, disconnect in reverse order. Remove the black ground clamp first. Then remove the red positive clamp.
This sequence prevents accidental shorts while the system is live. Leaving clamps attached can cause parasitic drains later. It also risks corroding the terminals faster.
Handle the clamps by their insulated grips. Avoid touching metal parts near the engine bay. Hot surfaces burn skin quickly.
Also, keep fingers clear of moving belts and fans. Modern engines run hot fast. Even a brief idle raises temperatures significantly.
Watch your dashboard lights as you pull away. Some vehicles reset radio codes after power loss. Others may display temporary error messages.
These usually clear after driving a few miles. If a check-engine light stays on, scan it later. Don’t panic immediately.
Transient glitches happen during jump starts.
Ensure the jump starter powers off completely. Store it in its case or bag. Loose cables tangle easily.
They can also chafe against sharp edges in the trunk. Secure storage extends the life of your equipment. Treat it with care, and it’ll serve you well.
Double-check that no tools were left in the engine bay. Stray wrenches cause catastrophic damage if sucked into belts. Verify the hood latch engages properly.
Drive cautiously for the first mile. Listen for unusual noises. Confirm steering and braking feel normal.
Peace of mind comes from thorough checks.
Post-Jump Reality: Charging the Alternator and Saving the Battery
Starting the car isn’t the finish line. Your alternator now takes over charging duties. However, a deeply discharged battery needs significant time to recover.
Driving for ten minutes rarely suffices. Aggregate reviews suggest twenty to thirty minutes of steady highway speeds. Idling in traffic charges inefficiently.
The alternator produces variable output based on RPM. Low-speed city driving provides minimal amperage. Highway cruising maintains consistent higher RPMs.
This maximizes charging efficiency. Plan a long drive soon after the jump. Short trips leave the battery vulnerable.
It may die again within days.
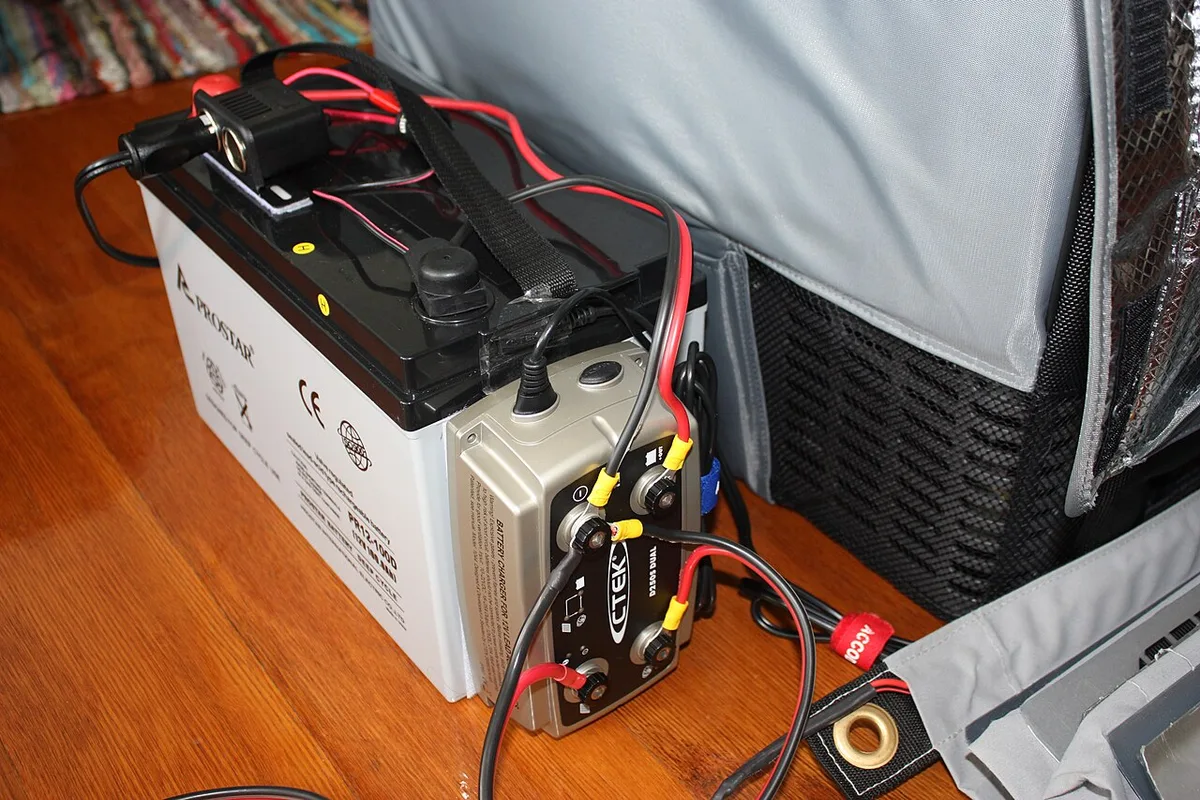
Image source: Wikimedia Commons / Stephan Ridgway from Brisbane, Australia (CC BY)
Monitor your vehicle’s behavior post-drive. Dim headlights indicate insufficient charge. Slow cranking next morning confirms weakness.
Consider using a dedicated trickle charger overnight. Smart chargers analyze battery health automatically. They apply optimal currents without overcharging.
This prolongs lifespan significantly.
Old batteries degrade chemically over time. Sulfation builds up on lead plates. This reduces capacity permanently.
Jump starting masks symptoms but doesn’t cure aging. If your battery is over four years old, replacement is wise. Investing in new cells saves future headaches.
Prevention beats reaction every time.
Keep records of battery age and maintenance dates. Note when you last jumped it. Frequent jumps signal underlying issues.
Parasitic draws or failing alternators hide behind simple dead batteries. Diagnostic testing reveals truth early. Address root causes, not just symptoms.
Your wallet thanks you for foresight.
Handling Special Cases: AGM Batteries, Hybrids, and Stop-Start Systems
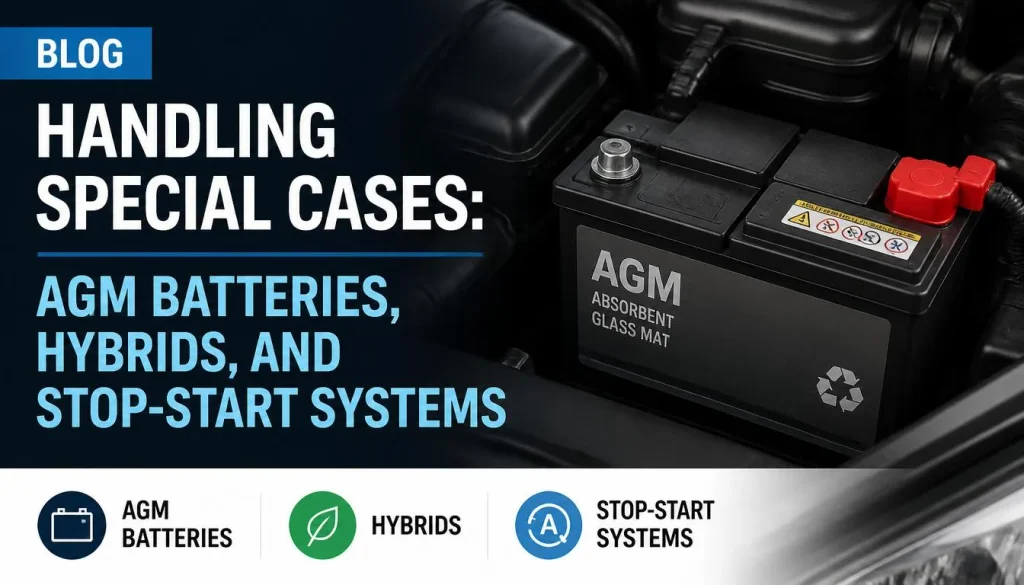
Modern technology complicates simple tasks. Absorbent Glass Mat (AGM) batteries require specific handling. Their dense construction resists vibration but holds less reserve power.
Standard jump packs may undercharge them. Look for units labeled “AGM compatible.” These adjust voltage profiles appropriately.
Hybrid vehicles add high-voltage layers beneath the hood. Never touch orange cables. They carry lethal electricity.
Focus solely on the 12V auxiliary battery. Its location varies by model. Often found in the trunk or under seats.
Consult your owner’s manual for exact placement. Guesswork invites danger here.
Stop-start systems frequently confuse drivers. The engine shuts off at lights. Restarting places extra strain on the battery.
Deep discharges happen quicker in these setups. Ensure your jump pack supports rapid cycling features. Some older models struggle with instant restart demands.
Verify compatibility before purchase.
Diesel engines demand higher torque for compression ignition. Cold diesels are notoriously stubborn. Peak amp ratings matter most here.
Choose a pack rated for heavy-duty use. Lower-spec units fail silently. They provide juice but lack punch.
Match capability to engine displacement carefully.
European cars often bury batteries in trunks. Access panels must be removed gently. Clips break easily.
Misalignment causes electrical faults. Take photos before disassembly. Reassembly precision matters.
Loose panels rattle and distract. Proper seating ensures grounding integrity. Respect the engineering complexity.
Troubleshooting Common Failures: No Click, No Crank, or Immediate Death
Sometimes things go wrong despite perfect technique. Diagnose systematically rather than guessing. Start with the basics.
Is the jump pack charged? Check its indicators. A flat pack helps nobody.
Recharge it fully before retrying. Patience solves many apparent failures.
No click usually means zero power delivery. Inspect terminal corrosion thoroughly. White powder blocks conductivity.
Clean posts with baking soda solution. Rinse and dry completely. Tighten connections firmly.
Loose clamps mimic dead batteries perfectly. Physical contact is non-negotiable.
Clicking sounds imply partial power. The solenoid engages but lacks strength. This points to weak cells or bad cables.
Swap out jumper clamps if possible. Test with a multimeter if skilled. Voltage drop across connections kills performance.
Resistance steals energy where you need it most.
Engine cranks slowly but won’t start. Fuel delivery might be interrupted. Air locks form in lines during downtime.
Prime the pump manually if accessible. Or cycle the key several times. This builds pressure gradually.
Mechanical priming assists electronic recovery effectively.
Immediate death after starting signals alternator failure. The car ran briefly on stored energy. Once depleted, it died again.
Replace the alternator urgently. Continuing drives strands you repeatedly. Electrical systems rely on continuous generation.
Storage alone cannot sustain operation indefinitely. Fix the source, not just the symptom.
Maintenance Rituals That Keep Your Pack Ready for Years
A portable jump starter is useless if it sits dead in your glovebox. Lithium-ion cells degrade over time, even when unused. Self-discharge rates vary by quality, averaging two to three percent monthly.
Check the charge level every three months at minimum. This habit prevents surprise failures during emergencies.
Store the unit in a cool, dry place. Extreme heat accelerates chemical breakdown inside the cells. Direct sunlight can warp plastic casings and damage internal wiring.
Avoid leaving it in a hot car trunk during summer. Garage storage works best if temperatures stay moderate.
Inspect the cables regularly for fraying or exposed wires. Damaged insulation poses shock and short-circuit risks. Replace any unit with compromised cabling immediately.
Do not attempt repairs on sealed lithium packs. The risk of thermal runaway is too high. Proper disposal through recycling centers is mandatory.
Clean the clamp contacts with a dry cloth. Dust and grime increase resistance significantly. Use mild soap if necessary, but avoid solvents.
Solvents can degrade rubber grips and plastic housings. Dry thoroughly before storing. Moisture promotes corrosion on metal terminals.
Update firmware if your model supports it. Manufacturers often release patches for improved safety algorithms. These updates refine spark prevention and voltage regulation.
Check the official website annually for new versions. Outdated software may miss critical protection features. Stay current to maximize reliability.
Cost Breakdown: Entry-Level Packs vs. Professional-Grade Units
Price correlates strongly with component quality and safety features. Entry-level units under $50 often lack robust protection circuits. They use thinner gauge wires and lower-grade cell chemistry.
Performance drops sharply in cold weather conditions. You get what you pay for here.
Mid-range models ($80, $150) balance cost and capability effectively. These typically feature smart clamps with reverse polarity protection. Cable gauges improve, allowing better amperage delivery.
Most sedans and small SUVs start reliably with these specs. Durability increases with better housing materials.
Professional-grade units exceed $200 and target heavy-duty applications. They offer higher peak amps and larger watt-hour capacities. Advanced BMS (Battery Management Systems) monitor individual cell health.
Temperature compensation adjusts output for extreme climates. Fleet managers prefer these for consistent uptime.
Consider total ownership costs beyond the sticker price. Cheaper units fail sooner, requiring frequent replacements. High-quality packs last three to five years with proper care.
Warranty coverage varies widely among brands. Read fine print regarding accidental damage exclusions. Some void warranties if used incorrectly.
Value depends on your vehicle type and usage frequency. Occasional users might suffice with basic models. Daily drivers in harsh climates need premium builds.
Don’t skimp on safety features like spark prevention. The potential repair bill from a mistake dwarfs the savings. Invest wisely in reliable equipment.
Expert Verdict: Choosing the Right Tool for Your Garage
Selecting the right jump starter requires matching specs to your vehicle. Ignore marketing hype about “universal compatibility.” Focus instead on peak amp ratings relative to engine size. A 600-amp unit struggles with diesel trucks.
It handles compact cars effortlessly. Precision matters more than excess power.
Prioritize units with integrated smart clamps. Separate cable sets introduce tangling risks and connection errors. Integrated designs streamline setup and reduce human error.
Look for clear LED indicators showing readiness status. Ambiguous lights cause hesitation during stressful moments. Clarity saves time and nerves.
Check independent lab tests for actual performance claims. Manufacturer specs often reflect ideal room temperature conditions. Real-world results differ in freezing winters.
Seek reviews mentioning cold-start success rates. Verified buyer feedback highlights durability issues early. Trust community experiences over glossy brochures.
Assess portability versus capacity trade-offs. Larger batteries weigh more but hold more juice. Smaller units fit easily in door pockets.
Choose based on where you’ll store it most often. If trunk space is limited, opt for compact designs. Accessibility ensures you’ll actually carry it.
Finally, verify regulatory compliance marks like UL 2743. This standard certifies safety against fire and explosion risks. Non-certified imports bypass rigorous testing protocols.
Stick to recognized brands with transparent supply chains. Safety certifications protect lives, not just products. Never compromise on verified standards.
Frequently Asked Questions on How to Jump Start a Car with a Battery Pack
Can I jump start a car with a dead battery pack?
No. A completely depleted jump starter cannot deliver sufficient current. The internal cells must retain some residual energy.
Recharge the pack fully before attempting another jump. Trying to force a start stresses damaged cells further. Wait until the indicator shows full charge.
Patience preserves both the pack and the vehicle.
How long does a portable jump starter last on one charge?
Most units provide multiple jumps per full charge. Capacity ranges from ten to fifty starts depending on model size. Watt-hours determine total stored energy.
Higher capacity means more uses between recharges. Cold weather reduces effective range slightly. Monitor remaining percentage via digital displays if available.
Plan accordingly for extended road trips.
Is it safe to leave clamps attached while driving?
Absolutely not. Leaving clamps connected creates electrical shorts. Vibrations loosen connections, sparking fires near fuel lines.
Remove all attachments immediately after starting. Store the pack separately in its case. Loose cables tangle in moving parts dangerously.
Always disconnect before shifting into drive. Safety demands strict adherence to removal protocols.
Why did my car die again shortly after jumping?
This usually indicates a failing alternator or severe battery sulfation. The jump provided temporary power, but charging failed. Have the electrical system tested professionally soon.
Driving briefly won’t recharge a deeply degraded battery. Persistent symptoms require component replacement. Ignoring this leads to repeated strandings.
Diagnose root causes promptly to avoid recurrence.
Can I use a phone charger to boost a jump starter?
Never try this. Phone chargers output low amperage unsuitable for cranking engines. They lack the instantaneous surge capability required.
Using improper adapters damages the internal circuitry. Only use the manufacturer-provided AC adapter. Third-party solutions void warranties instantly.
Correct charging methods ensure longevity and safety. Stick to approved accessories exclusively.
Do AGM batteries need special jump starters?
Standard 12V packs work if rated correctly. However, AGM batteries accept charge differently than flooded types. Ensure your pack supports appropriate voltage profiles.
Mismatched charging speeds shorten battery life significantly. Consult your vehicle manual for specific requirements. Generic advice misses nuanced technical details.
Compatibility checks prevent premature wear and tear.

“Cars aren’t just machines. They’re freedom, memory, and a little bit of grease under your fingernails.”
I’m Theodore Roosevelt—though my friends just call me “Ted” (and no, I’m not related to the president, though I do share his love for adventure). I grew up in Detroit in the 1970s, back when the city was still the heart of the American auto industry. My first love was a rusted-out 1967 Mustang my father and I rebuilt in our garage when I was fifteen. That project taught me that cars have souls. After spending twenty years as a mechanic and another ten writing for magazines, I started this blog to help everyday drivers and weekend wrenchers feel confident under the hood. Whether you’re restoring a classic or just trying to keep your daily driver alive for one more winter, I’m here to help you get there.