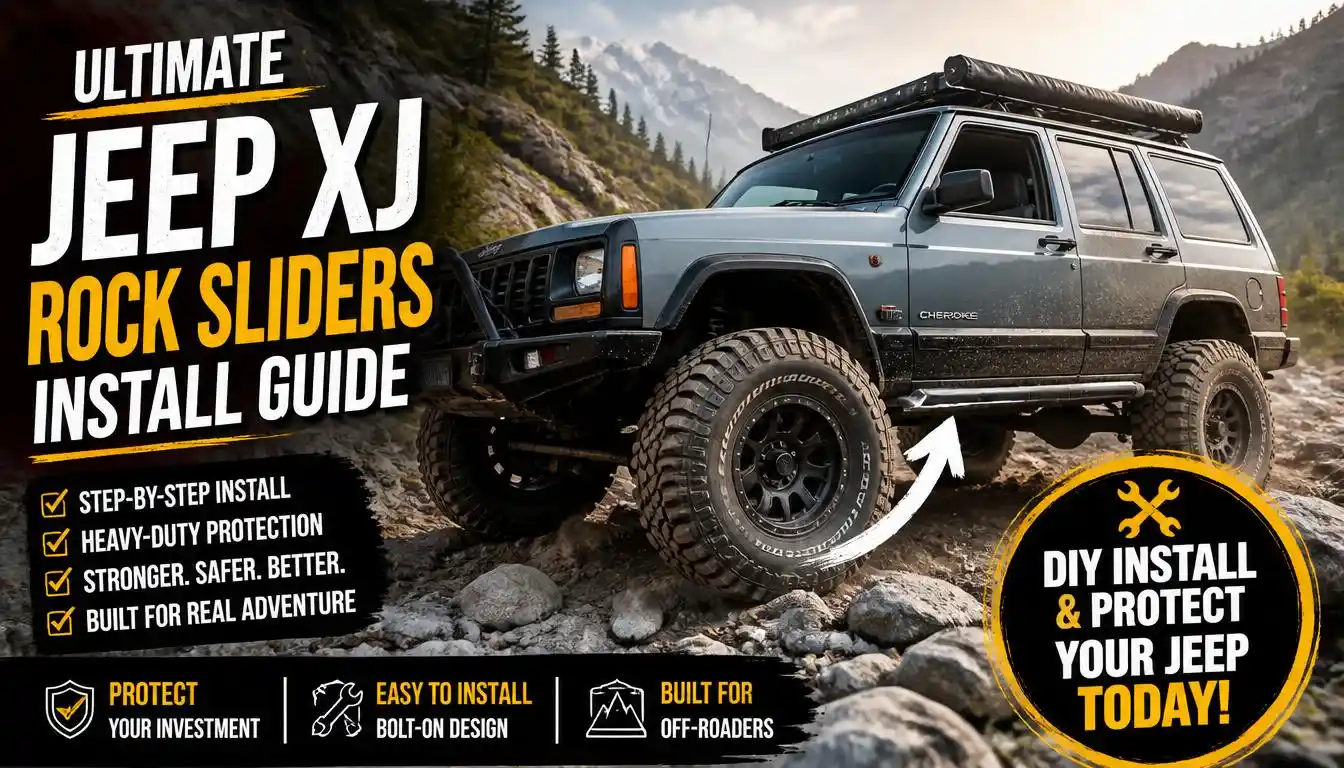
So, you’ve finally decided to protect the vulnerable rocker panels of your Jeep XJ. Smart move. Whether you’re staring at a set of heavy-duty steel sliders sitting in your garage or you’re still researching which ones to buy, you’ve probably realized one thing: the installation process can be intimidating.
Rusted bolts, a tricky unibody frame, and the fear of drilling into the wrong spot stop a lot of DIYers in their tracks.
You’re not alone. I’ve been there, lying on a creeper with penetrating fluid dripping on my face, wondering if I should have just paid a shop. But here’s the truth: with the right guidance, installing rock sliders on an XJ is a totally manageable weekend project.
This guide cuts through the forum clutter to give you a clear, step-by-step roadmap from unboxing to the final torque check. We’ll cover the critical differences between models, tools you can’t live without, and the fixes for those inevitable stuck bolts. Let’s get that armor on your Cherokee.
What You MUST Know Before Buying Sliders
Walk into any off-road shop or browse online, and you’ll see a confusing mix of terms. If you buy the wrong type of slider for your driving style, you’re wasting money and potentially damaging your Jeep on the first rock you meet. Let’s clear that up immediately.

Frame-Mounted vs. Weld-On vs. Pinch-Seam Mounted
This is the single most important decision.
- Weld-On Sliders: These are permanently fused to your unibody “frame” rails. For aggressive rock crawling in places like Moab (USA) or the Victorian High Country (Australia), this is the gold standard. There are no bolts to shear and no brackets to bend. The downside? You need a skilled welder, and they aren’t coming off easily.
- Bolt-On / Frame-Mounted Sliders: These use heavy-duty brackets that clamp or bolt around the unibody rail. They are incredibly strong and perfect for 90% of off-roaders. If you ever need to repaint them or repair trail damage, you can unbolt them. This is what most of you in the USA, UK, and Canada will be installing.
- Pinch-Seam Mounted: Avoid these for real off-roading. They bolt to the thin pinch seam under your doors. A strong hit will crumple that seam and jack up your door alignment. These are for looks, not for the trails in Utah or the Welsh countryside.
2-Door vs. 4-Door XJ Sliders – Don’t Order the Wrong Size!
A critical error that often flies under the radar is mixing up 2-door and 4-door sliders. If you own a 2-door XJ, your rocker panels are physically longer than those on a 4-door.
A slider designed for a 4-door will leave a section of your 2-door’s rocker dangerously exposed at the rear. Always confirm with the manufacturer that the slider is specifically for a 2-door model if that’s what you drive. This is vital for owners across the USA and Canada where 2-doors are beloved.

Tools Required: The Complete Checklist
Don’t crawl under the Jeep until you have these gathered.
- Jack and at least two heavy-duty jack stands.
- Full socket set (both metric and SAE are common on XJs).
- Breaker bar (a long pipe that fits over your wrench for extra leverage).
- Torque wrench.
- Penetrating fluid (Kroil or PB Blaster): WD-40 is not a penetrating fluid. Buy the strong stuff. This is non-negotiable in the UK and Canada where road salt wreaks havoc.
- Angle grinder or rotary tool (for minor trimming).
- Center punch, drill, and a full set of sharp metal drill bits (if drilling is required).
- Safety glasses and gloves.
Budget DIY Option: No-Weld Rock Sliders (Pros & Cons)
Maybe you’re working out of a home garage without a welder, or your budget is tight. “No-weld” or “weld-on-able” kits exist that bolt together or use extensive clamping force. They can be a solid option for light-to-medium trail riding and overlanding.
The key is to look for kits with thick steel (at least 3/16-inch wall thickness) and multiple clamping points per side. The downside is they can sometimes rotate under a very heavy impact, and they might not be as tight-fitting to the body as a custom welded option.
If your XJ is a daily driver that sees forest service roads and not just rock gardens, a no-weld kit can serve you well.
Preparation: Protecting the Unibody
An XJ isn’t a truck; it has a unibody. Any twisting force is transferred directly to the structure of your vehicle. A proper install is about protecting this structure, not just adding armor.
Rust Check and the Art of Patience
Before you even pick up a wrench, soak every bolt you’ll be touching. The main culprits are the rear leaf spring eye bolts and any factory nuts inside the frame rail. Spray them heavily and wait. Then spray them again the night before your install.
For our readers battling salted roads in the UK and Canada, this single step is the difference between a two-hour job and a nightmare weekend involving extraction tools.
Safety First and Lifting
Park on level ground. You’re going to be wrenching hard, so the Jeep must be rock-solid. Place your jack stands under the frame rails, well forward of the control arm mounts. Never rely on just a floor jack.
The Dry Fit
This is non-negotiable. Before you remove any backing tape or fire up a welder, lift the slider into position on the vehicle. How does the gap between the slider and the rocker panel look? Is it pinching a brake line or fuel hose? Do the ends clear the tires at full stuff and full lock? Taking five minutes here saves a massive headache later.
Step-by-Step Installation Methods
The process now splits into two distinct paths. Choose the method that matches the sliders in front of you.
Method 1: Weld-On Installation (Recommended for Hard Trails)
This is a permanent commitment. If you haven’t welded to a vehicle chassis before, this is the time to pay a professional fabricator from your local 4×4 club.
- Surface Prep: With the slider securely held in its final position, use an angle grinder with a wire wheel to strip the paint and undercoating from the unibody rail where the weld beads will be. You need shiny, bare metal.
- Tack Welding: Place small, inch-long tack welds at the front, middle, and rear of each mounting leg. Let them cool completely. The metal will shrink as it cools, and doing this slowly prevents warping your unibody.
- Heat Management: Be hyper-aware of your fuel and brake lines. On the driver’s side (LHD or RHD, it applies to both the USA and Australia), the fuel lines run along the inside of the frame rail. Place a welding blanket or heat shield between your weld and those lines. Have a fire extinguisher within arm’s reach. Never skip this.
- Final Welding: After tack welds have cooled, slowly stitch-weld the legs in one- to two-inch increments, alternating from front to back to manage heat.
Method 2: Bolt-On Installation (Self-Tapping & Through-Bolt)
This is the more common DIY path and is perfectly strong when done right.
- Using Existing Hardware: Many sliders are designed to reuse your front leaf spring bolt and sometimes a crossmember bolt. Remove these cautiously. If the nut inside the frame starts to spin, stop immediately and apply more penetrating fluid.
- Adding Through-Bolts: You’ll typically need to drill a few holes through the unibody rail. Use a center punch to mark your spot precisely. Start with a small pilot bit (1/8-inch) and step up to your final bit size. This prevents the bit from walking and gives you a cleaner hole.
- Nut Strips & Flag Nuts: The trickiest part is getting a nut inside the unibody rail. Many kits come with “nut strips” or “flag nuts” (a nut welded to a long wire handle). If yours didn’t, you can fish bolts through with a piece of wire or string. This requires patience and dexterity.
- Torque Specs: Over-tightening can crush the unibody or snap a bolt. For most 3/8-inch and 7/16-inch grade 8 hardware used on these kits, a target of 80-90 ft-lbs is a safe and strong range. Always check your kit’s manual first.
Tips for Popular Brands (JCR, ARB, Rough Country)
While the core principles remain the same, some brands have quirks.
- JCR Offroad (USA): Known for their “thru-bolt” design. You will almost certainly need their specific nutstrip installation tool or a good mechanical finger to get the backing plate inside the frame rail. A helper on the other side of the rail makes this infinitely easier.
- ARB (Australia): ARB’s protection gear is engineered to exacting standards. Expect a pristine fit, but also pay absolute attention to the specific torque sequence in their instructions. Their mounting brackets are often vehicle-side specific, so lay them all out and identify the front/rear and left/right pieces meticulously.
- Rough Country: A popular budget-friendly option in the US. Installation is often straightforward, but aftermarket exhaust routing can interfere with the passenger-side mounting arm. Always dry-fit and check for exhaust contact before final torque.
Special Case: Installing with Factory Fender Flares
If you’re keeping the stock plastic fender flares, be prepared to do some trimming. The front and rear “end caps” of your new rock sliders will want to occupy the same space as the bottom inch of your flares. A rotary tool with a cut-off wheel works brilliantly for this.
Mark your cut line with masking tape, make the cut slowly, and the factory flare will tuck behind the slider for a clean, integrated look that owners in the US and Canada often aim for.
Post-Install Test & Maintenance
Your job isn’t done after the last bolt is tight. It’s time to settle the suspension and inspect your work.
The Flex and Clearance Test
Find a ditch, a loading ramp, or a trusty forklift to gently articulate your suspension. Turn the steering wheel to full lock in both directions. Listen. Is a tire rubbing the new slider leg? Is the slider making contact with the rocker panel and flexing into it? You want at least a 1/4-inch air gap between the slider and the body. If it’s touching, all that energy from a rock hit will go directly into your paint and metal.
Paint and Rust Protection
Your install likely put scratches in the frame and the slider’s powder coat. Do not leave them bare. Hit every scratch with a rust-inhibiting paint like POR-15 or a high-quality chassis black. For our UK and Canadian Cherokee owners, now is the perfect time to drench the inside of the frame rails and all bolt heads with a lanolin-based rust preventative spray like Fluid Film.
Common Installation Mistakes (Avoid These!)
Learn from the community’s busted knuckles and broken bolts. These are the all-too-common pitfalls.
1. Destroying the Rocker Panel
There is a terrifying trend of cutting off the lower rocker panel to mount sliders directly flush against the sill. On an XJ unibody, that folded metal seam is a primary structural member. Cutting it compromises the entire integrity of the passenger compartment. A proper slider bolts to or wraps around this seam; it doesn’t require its removal.
2. The Spinning Nutsert
Many bolt-on kits use nutserts (rivet nuts) that compress into a drilled hole in the unibody. If you over-torque them during installation or cross-thread a bolt into them, they will spin freely. The emergency fix: Grab a pair of vice grips, clamp them onto the outer lip of the spinning nutsert, and pull outward with heavy pressure while you carefully try to back the bolt out. You’ll need to install a new, larger nutsert in its place.
3. Over-Torquing and Snapped Bolts
More torque is not better. As we mentioned, 80-90 ft-lbs is plenty for most mounting hardware. Use a torque wrench religiously. Snapping a bolt head off, especially in a captive nut inside the frame, can turn a Saturday project into a month-long parts nightmare.
Emergency Fix: Extracting Stuck Leaf Spring Bolts
This is the job-stopper. You’re trying to remove the front leaf spring bolt to mount your new slider leg, and it won’t budge.
- Heat: If the rubber bushing hasn’t melted yet, a propane torch applied to the nut inside the frame rail can expand the metal and break the rust bond. Keep a fire extinguisher inches away.
- The Sawzall Method: If the bolt is truly seized inside the bushing sleeve, your most efficient path is to cut the bolt on both sides of the bushing with a reciprocating saw (Sawzall) using a high-quality metal blade. Yes, you will need a new leaf spring bolt. But this five-minute destruction saves you five hours of agony.
Frequently Asked Questions About Jeep XJ Rock Sliders Install Guide
Can I install rock sliders by myself?
Yes, especially bolt-on types, but a second pair of hands is invaluable. Lifting a 50-80 lb steel slider and aligning bolt holes is a back-breaking job for one person.
Do I need to remove the Jeep XJ gas tank?
No, not for 99% of sliders. But you must be careful when drilling or welding near the rear passenger-side frame rail. Always place a heat shield or welding blanket between your work area and the gas tank as a safety precaution.
Weld vs. Bolt: Which is better for towing?
Neither directly affects towing. The strength difference is entirely in how they take a side-impact from a rock. For the structural forces of towing, your focus should be on a proper frame hitch, not rock slider attachment.
Will these sliders work as a step?
That depends on the “kick-out” design. A slider with a flat top or a prominent kick-out towards the rear tire makes a decent step. A simple tubular slider angled upwards for maximum clearance makes a very poor and slippery step.
This guide has walked you through every step, from choosing the right armor to cleaning up the final weld. You now have the knowledge to tackle this install with confidence. Take your time, respect the rust, and never compromise on safety. Once you’re done, that first solid thud of armor against rock will make all the effort worthwhile. Now get out to the garage, and build that Cherokee the way it was meant to be.

“Cars aren’t just machines. They’re freedom, memory, and a little bit of grease under your fingernails.”
I’m Theodore Roosevelt—though my friends just call me “Ted” (and no, I’m not related to the president, though I do share his love for adventure). I grew up in Detroit in the 1970s, back when the city was still the heart of the American auto industry. My first love was a rusted-out 1967 Mustang my father and I rebuilt in our garage when I was fifteen. That project taught me that cars have souls. After spending twenty years as a mechanic and another ten writing for magazines, I started this blog to help everyday drivers and weekend wrenchers feel confident under the hood. Whether you’re restoring a classic or just trying to keep your daily driver alive for one more winter, I’m here to help you get there.