
You’re standing in your driveway, turning the key, and hearing nothing but a single click. Your 1998 Jeep Cherokee Sport starter has given up the ghost. This guide gives you clear, step-by-step instructions to replace it yourself without the shop visit.
We’ll cover the exact bolts, wiring, and common pitfalls that catch first-time DIYers off guard.
The 4.0L engine draws roughly 150 to 200 amps during a cold start. That electrical load makes a loose ground strap a silent killer of new starters. Let’s walk through the problem, the risks, the system, and the safe prep before you grab your wrenches.
Quick Answer
Replace the starter on a 1998 Cherokee XJ by disconnecting the negative battery cable first. Remove two M10 mounting bolts and the wiring from the solenoid. Transfer the original bracket and shims.
Install the new starter, reconnect all wires, and torque the bolts to about 30 ft-lbs. Test before fully tightening.
The 1998 Jeep Cherokee Starter Problem: No-Crank Symptoms
Your starter is a compact DC motor that engages the engine flywheel to crank the 4.0L inline-six. When it fails, you lose that initial turnover. Most owners report three primary symptoms that point directly at the starter circuit.
- Loud single click with no engine movement
- Rapid clicking that sounds like a machine gun
- Starter spins but the engine does not turn over
These symptoms match a failing Bendix drive, worn solenoid contacts, or poor electrical grounding. Per SAE J1113 testing standards, a healthy starting circuit should maintain at least 9.6 volts under cranking load. Below that threshold, you’re likely looking at a parasitic voltage drop somewhere in the path from battery to starter.
What Each Symptom Usually Means
- Single click points to a bad solenoid or corroded trigger wire
- Rapid clicking often signals weak battery voltage or high resistance in the ground path
- Free-spinning starter indicates a worn overrunning clutch inside the Bendix drive
How to Confirm It’s Not Just a Dead Battery
- Check resting voltage at the battery terminals. It should read 12.6 volts or higher.
- Measure voltage while a helper cranks the engine. It must stay above 9.6 volts.
- Clean and tighten both battery cables before declaring the starter failed.
A clean ground path on the transmission bellhousing and engine block is just as critical as clean terminals. Corrosion on that aluminum bracket hides resistance better than you’d expect.
Why This Job Demands Precision: Electrical and Safety Risks
Working on a starter isn’t like changing wiper blades. You’re dealing with high current paths, heavy components, and limited clearance between the engine and transfer case. One mistake can bend a pinion gear, weld a mounting stud, or leave you stranded miles from home.
The Hidden Danger of Poor Grounding
Jeep XJs are notorious for a forgotten ground strap on the transmission. This braided copper strap connects the bellhousing to the frame. If it corrodes or breaks, the starter tries to complete its circuit through every metal piece it can find.
That creates arcing, heat, and premature failure of your new part.
Electrical Shorts That Can Melt Wiring
The heavy gauge cable from the battery terminal to the starter solenoid carries continuous cranking current. If you pinch that insulation during install, the metal bracket will act as a ground. The cable will melt fast.
A blown fuse near the battery helps, but not all aftermarket installs include one.
Pinch Points and Crush Hazards
The starter weighs around ten pounds. It sits low on the driver’s side. You’ll be reaching into a space where a slip of the ratchet can hurt your hand or damage nearby components like the ignition coil or starter relay harness.
The Flywheel Ring Gear Risk
A grinding noise means the starter pinion is missing the ring gear teeth. Forcing engagement can chip or fracture the ring gear. Ring gear replacement requires dropping the transmission.
That turns a two-hour job into a two-day nightmare.
How the Starter System Works in Your XJ
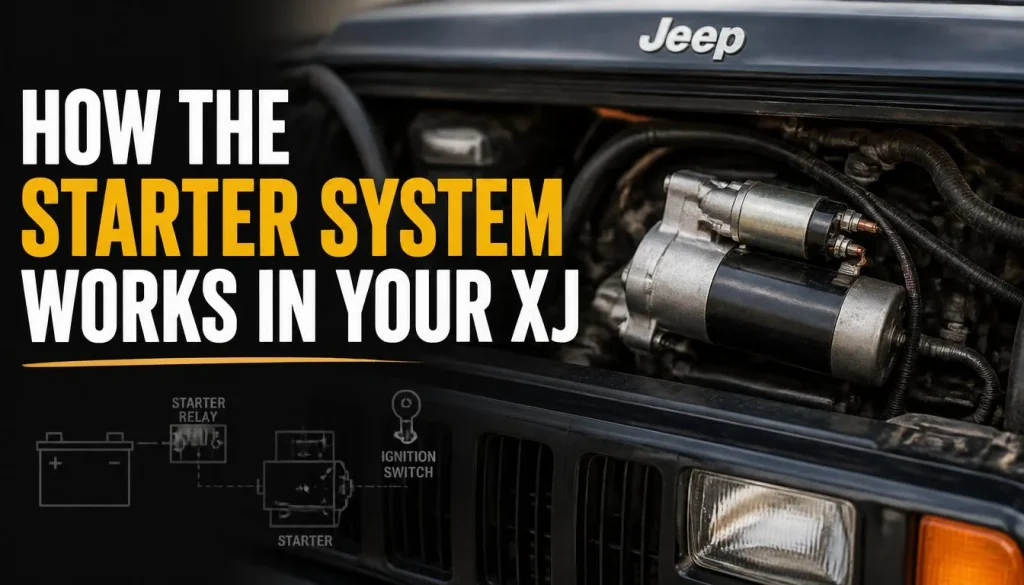
Understanding the path of electricity and mechanical engagement helps you diagnose faster and install correctly. The system has four key components that work in sequence.
Power Path from Battery to Solenoid
- The positive battery cable runs to the large terminal on the starter solenoid.
- The ignition switch sends a signal through a smaller trigger wire to the S-terminal.
- The solenoid closes a heavy contact, sending full battery voltage to the starter motor.
- The motor turns the armature, which pushes the Bendix drive forward to mesh with the flywheel.
The Role of the Solenoid and Bendix Drive
The solenoid does two jobs at once. It acts as a relay for high current, and it physically pushes the Bendix drive out via a fork and push-rods. The Bendix drive contains an overrunning clutch.
That clutch lets the pinion gear spin freely once the engine starts. It locks only when turning the engine over.
Why Grounding Matters More on the XJ
The engine block grounds through the motor mounts and the transmission bellhousing ground strap. The starter housing grounds against the engine block. If the bellhousing strap is broken, the starter housing becomes the ground path.
That path has too much resistance. The result is slow cranking, heat, and solenoid chatter.
Compatible Starter Types for the 4.0L Engine
- Standard direct-drive Bosch or Denso units
- Gear-reduction starters for better cold-cranking performance
- S-type replacements with adjusted mounting flanges
When upgrading, keep the same drive type and gear ratio. Mixing a direct-drive starter with a gear-reduction mounting pattern can cause pinion misalignment. That leads to ring gear damage.
Essential Safety Steps: Don’t Skip These
Safety isn’t a suggestion when you’re working near high-current connections and heavy metal parts. Follow these steps before removing a single bolt.
Disconnect the Battery Negative Cable First
- Open the hood and locate the negative terminal.
- Loosen the clamp bolt with a 10mm wrench.
- Remove the cable and tuck it away from the post.
- Wait at least one minute for the airbag module to discharge residual power.
Verify Zero Voltage Before Touching Wires
- Set your multimeter to DC volts.
- Place the probes on both starter solenoid terminals.
- Confirm the reading is zero. Any voltage means residual charge remains.
- If voltage shows, wait longer and recheck.
Support the Vehicle Properly
- Park on a level surface and engage the parking brake.
- If you need to slide underneath, use jack stands rated for the XJ weight.
- Never trust a hydraulic jack alone for prolonged work.
Keep Tools Organized in a Catch Tray
- The starter compartment holds small washers and nuts.
- A magnetic tray prevents dropped hardware from falling into the bellhousing.
- Losing a washer between the engine and transfer case is a costly removal job.
Wear Safety Glasses and Gloves
- Battery acid can splash when loosening clamps.
- Grease and grime collect on old brackets.
- Safety glasses protect against flying rust particles.
Tools and Parts Checklist for a 1998 Cherokee Starter Swap
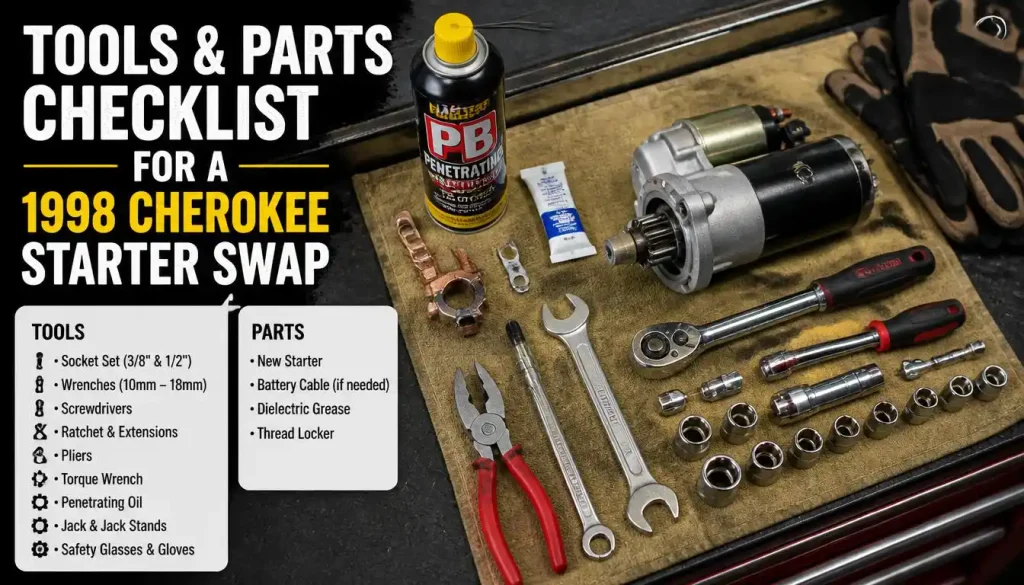
Gathering the right tools upfront saves time and prevents middle-of-job trips to the auto parts store. This list covers what most DIYers need for a straightforward replacement.
Required Hand Tools
- 10mm socket and ratchet for battery cable and trigger wire nuts
- 10mm or 13mm deep socket for starter mounting bolts
- Extension bar, ideally 6 inches
- Breaker bar for stubborn bolts
- Adjustable wrench for terminal nuts
- Wire brush for cleaning ground surfaces
- Multimeter for voltage and resistance checks
Helpful Specialty Items
- Magnetically tipped pickup tool for retrieval of dropped hardware
- Socket set with both metric and standard sizes
- Torque wrench for final bolt tightening
- Terminal puller set for stubborn wire connectors
- Dielectric grease for protecting new connections
Parts to Verify Before Purchase
- Starter assembly matched to 1998 Jeep Cherokee 4.0L
- Replacement gasket if your unit includes one
- New terminal nuts and lock washers
- Copper terminal shields for solenoid posts
- Anti-seize compound for mounting studs
Optional Upgrades Worth Considering
- Heavy-duty battery cable to replace corroded originals
- Additional ground strap from bellhousing to frame
- Inline fuse holder near the battery for added protection
- Starter relay upgrade for improved trigger signal reliability
Sourcing Quality Components
When you’re ready to order parts, checking [where to buy off road Jeep accessories] online gives you access to specialized suppliers who stock XJ-specific starters. Compare prices across multiple vendors before committing.
Reading Part Numbers Correctly
Manufacturers list starter part numbers differently. Cross-reference your old unit’s casting number with the new starter’s specifications. Key matches include:
- Bolt pattern and thread size
- Solenoid terminal placement
- Drive type and gear ratio
- Overall length and pinion offset
Double-check these details before assuming a new starter will bolt right in.
Table: Starter Replacement Component Comparison
| Component | OEM Specification | Aftermarket Common Variant | Key Check Before Buy |
|---|---|---|---|
| Mounting bolts | M10 x 1.5 thread, 30mm length | Same thread, varying lengths | Verify thread pitch matches |
| Solenoid trigger terminal | S-terminal, ¼ inch spade | Same standard size | Confirm wire gauge fits |
| Drive type | Direct drive or gear reduction | Both options available | Match original drive style |
| Weight | Approximately 10 lbs | Similar range | Ensure clearance in bay |
| Voltage rating | 12V nominal | 12V standard | Do not use 24V units |
Cost Expectations as of 2026
Quality remanufactured starters typically run between $90 and $150. New gear-reduction units may cost $150 to $220. Basic hand tools are already in most garages.
If you need to buy a torque wrench or multimeter, budget an extra $40 to $60. Professional installation labor usually adds $150 to $300 depending on regional rates.
Step-by-Step Starter Replacement: Removal and Installation
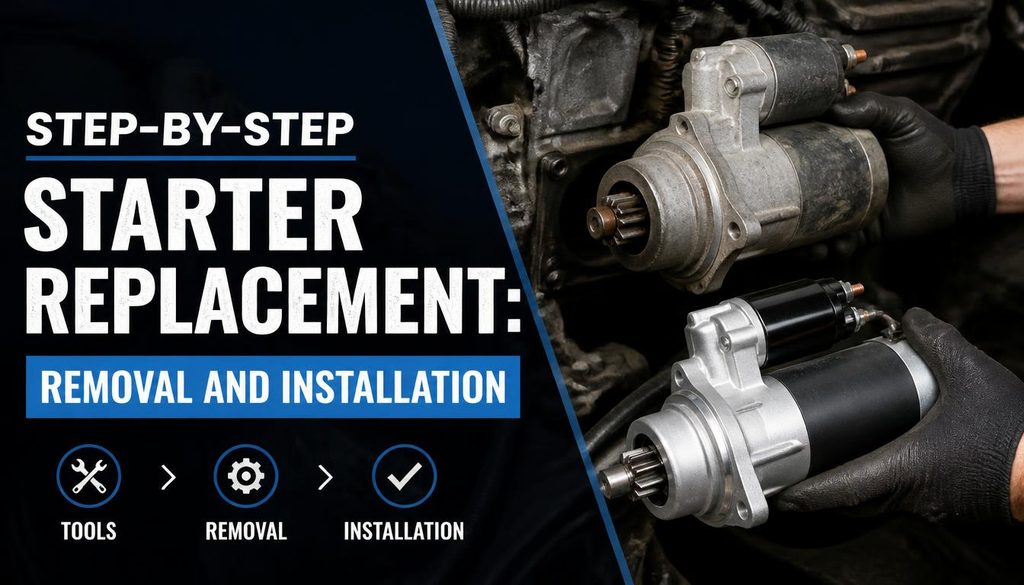
This section walks through the actual removal and install process. We’ll go slow on the tricky parts and highlight the moments where most people make mistakes.
Step 1: Disconnect and Verify
- Loosen the negative battery cable clamp
- Remove the cable and secure it away from the terminal
- Test the starter solenoid terminals with a multimeter
- Confirm zero voltage before proceeding
Step 2: Locate and Access the Starter
The starter sits on the driver’s side of the engine, tucked between the block and the transfer case. You’ll have limited room to work. A good flashlight and a mirror help you see the mounting bolts clearly.
Step 3: Remove the Wiring Connections
- Disconnect the small trigger wire from the S-terminal first
- Remove the large nut securing the battery cable to the solenoid post
- Cap both terminals with tape to prevent accidental contact
- Label each wire if you’re unfamiliar with the layout
Step 4: Unbolt the Starter
The two M10 mounting bolts hold the starter in place. One bolt is usually more accessible than the other. Use an extension and a swivel socket for the harder-to-reach bolt.
A breaker bar helps if corrosion has seized the threads.
Step 5: Remove and Inspect the Old Unit
Pull the starter straight back and out of the bellhousing. Watch for the drive dog getting caught on the flywheel teeth. If it resists, gently wiggle it free rather than forcing it.
Inspect the old unit for:
- Burnt solenoid contacts
- Worn Bendix drive pawls
- scored armature shaft
- Damaged mounting flange
Step 6: Prepare the New Starter
Compare the new starter against the old one. Verify:
- Bolt pattern matches exactly
- Solenoid terminal orientation is correct
- Drive gear type matches the original
- Length and overhang are identical
Transfer any mounting brackets or shims from the old unit. Some aftermarket starters include new shims. Leave them in until you test fit the unit.
Step 7: Install the New Starter
- Position the starter into the bellhousing carefully
- Align the mounting holes by hand first
- Thread both bolts in by hand to avoid cross-threading
- Snug the bolts lightly before fully torquing them
Step 8: Reconnect the Wiring
- Attach the large battery cable to the solenoid post and torque the nut
- Reconnect the small trigger wire to the S-terminal
- Apply dielectric grease to both connections to prevent corrosion
- Ensure no wires pinch against sharp edges or moving parts
Step 9: Reattach the Ground Strap
Locate the transmission earth ground strap. Clean both mating surfaces with a wire brush until bare metal shows. Reattach the strap and tighten the hardware securely.
This step alone prevents many no-crank conditions after a starter swap.
Step 10: Final Torque and Test
- Torque the starter mounting bolts to 25 to 35 ft-lbs
- Reconnect the negative battery cable
- Turn the key to the start position and listen for proper engagement
- The engine should crank smoothly without grinding or free-spinning
If the starter sounds wrong, disconnect the battery immediately and recheck your work.
Table: Starter Installation Torque Specifications
| Component | Torque Specification | Tool Required |
|---|---|---|
| Starter mounting bolts | 25 to 35 ft-lbs | Torque wrench |
| Battery cable nut | 70 to 90 in-lbs | Torque wrench or feel |
| Solenoid trigger wire nut | 40 to 60 in-lbs | Small torque wrench |
| Transmission ground strap bolts | 15 to 20 ft-lbs | Ratchet with extension |
Common Installation Mistakes That Cause No-Start Conditions
Most starter failures after installation come down to one of three mistakes. You can avoid all of them by following these checkpoints.
Forgetting the Transmission Ground Strap
This is the number one culprit. The XJ relies on a braided copper strap between the transmission and the frame. If you don’t reconnect it, the starter has no clean ground path.
The result is slow cranking, solenoid chatter, or complete no-crank.
Cross-Threading the Mounting Bolts
The starter bracket threads are aluminum or soft steel. They strip easily if you force the bolts in at an angle. Always thread the bolts by hand first.
If they don’t spin freely, back out and realign.
Pinching the Battery Cable
The thick positive cable runs close to the bellhousing and engine block. It’s easy to trap the insulation when you slide the starter into place. A pinched cable will short against the metal and melt fast.
Check clearance before final tightening.
Using the Wrong Shims
Some starters require thin shims between the mounting flange and the engine block. Too many shims push the pinion too far into the ring gear. Too few leave too much gap.
Both cause grinding and potential flywheel damage. Measure the original shim stack before removing it.
Mixing Up the Trigger Wire
The S-terminal trigger wire is small gauge. If you accidentally connect it to the large battery post, you’ll blow the ignition switch fuse or damage the wiring harness. Double-check the wire color and terminal size before tightening.
Not Testing Before Final Torque
Always do a bench test or quick connection test before fully torquing the mounting bolts. If the starter doesn’t engage properly, you’ll have to remove it again anyway. A five-minute test saves a two-hour teardown.
Forgetting Dielectric Grease
New terminal connections oxidize over time. A thin coat of dielectric grease on both the large post and the S-terminal keeps moisture out. This simple step extends the life of your connections significantly.
Choosing the Right Starter: OEM, Reman, and Gear-Reduction Options
You have several starter options for your 1998 Cherokee. Each has trade-offs in performance, longevity, and cost.
Remanufactured Standard Starters
Remanufactured starters rebuild the original unit with new brushes, bearings, and solenoid contacts. They fit perfectly and cost $80 to $120. The downside is that the original housing and armature may have wear.
Expect two to four years of service life with normal use.
New Direct-Drive Starters
Brand-new Bosch or Denso direct-drive units cost $120 to $180. They use the same internal design as the original but with fresh components throughout. These offer reliable three to five year service life.
They’re the safest choice if you want a drop-in replacement with no surprises.
Gear-Reduction Starters
Gear-reduction starters use a smaller, lighter motor with a planetary gear set. They draw less current from the battery while delivering more torque to the flywheel. These cost $150 to $220 and are ideal for cold climates or towing.
The trade-off is higher price and slightly more complex internals.
Ultra-Duty or Racing Starters
Heavy-duty units designed for off-road use cost $200 to $350. They feature reinforced housings, upgraded bearings, and high-torque solenoids. These make sense if you run large tires, winches, or do extreme off-roading where vibration kills standard starters.
How to Choose
- Choose reman for budget-conscious repairs on daily drivers
- Choose new direct-drive for best value and reliability
- Choose gear-reduction if you live in a cold climate or tow frequently
- Choose ultra-duty only if your driving style demands extra toughness
Cost Breakdown: DIY vs. Shop Labor
Installing the starter yourself saves money upfront. But factor in tool costs and your time before deciding.
DIY Parts Cost
A quality remanufactured starter runs $90 to $150. New direct-drive units cost $120 to $180. Gear-reduction options go $150 to $220.
Add $20 to $40 for basic supplies like dielectric grease and replacement nuts if needed.
DIY Tool Investment
If you already own basic socket sets and a torque wrench, your cost is just the starter. If you need a multimeter or magnetic parts tray, budget another $30 to $60. These are one-time purchases that help with future repairs.
Professional Labor Cost
Shop labor for a starter replacement typically runs $150 to $300 depending on your region. Labor time is usually one to two hours. Some shops charge a flat rate while others bill by the hour.
Call ahead for estimates.
Hidden DIY Costs
You might discover corroded battery cables or a broken ground strap while working. Replace those while you have access. Budget an extra $30 to $50 for cables or a new ground strap if needed.
These fixes prevent future no-start issues.
Table: Cost Comparison DIY vs Professional Installation
| Cost Category | DIY Approach | Professional Shop |
|---|---|---|
| Starter part | $90 to $220 | Included in labor |
| Labor time | One to two hours | Included |
| Labor charge | $0 | $150 to $300 |
| Tools required | Basic socket set | Provided by shop |
| Ground strap repair | $15 to $40 extra | May be extra charge |
| Total estimated cost | $105 to $260 | $150 to $340 |
DIY saves $50 to $100 on average. The real savings come from learning the system and handling future maintenance yourself.
When to Call a Professional: Complex Symptoms and Risks
Some problems look like a bad starter but aren’t. A professional mechanic can diagnose these faster and prevent costly mistakes.
Engine Cranks Slowly But Starter Tests Good
If your starter bench-tests fine but the engine still turns over slowly, the problem lies elsewhere. The battery may be weak. The cables may have internal corrosion.
The ground strap may be broken. A technician can perform a voltage drop test on both the positive and ground sides to pinpoint the resistance source.
Ring Gear Damage Suspected
A grinding noise during engagement suggests ring gear wear. If the starter pinion has chipped teeth or the flywheel ring gear is badly damaged, you need a transmission drop to inspect and replace the gear. This is a multi-hour job that requires special tools and expertise.
Intermittent Electrical Issues
If the starter works sometimes and not others, you may have a fault in the ignition switch, starter relay, or wiring harness. Tracing intermittent electrical problems requires a wiring diagram and systematic testing. Most DIYers lack the time or tools for this depth of diagnosis.
Aftermarket Wiring Complications
If your Cherokee has a stereo alarm, remote start, or winch installed, the starter circuit may have been altered. These modifications can create hidden failure points. A professional familiar with aftermarket automotive electrical systems can safely trace and repair these circuits.
Timing Out Your Own Repair
If you’ve spent more than three hours and still can’t get the starter to engage, pull the plug. You may be missing a simple detail, or the problem may be elsewhere. Paying for an hour of professional diagnosis saves frustration and keeps you from stripping more bolts in the process.
Frequently Asked Questions
How long does a starter replacement take on a 1998 Cherokee?
A straightforward starter swap takes one to two hours for a first-time installer. Experienced DIYers can complete it in under an hour. Factor in extra time if you discover corroded cables or a broken ground strap during the process.
Can I reuse my old starter bolts on the new unit?
No. Always use new mounting bolts when installing a starter. Old bolts stretch during removal and may snap under torque.
New bolts ensure proper clamping force and prevent catastrophic failure while driving.
What causes a grinding noise after installing a new starter?
Grinding usually means the pinion gear is misaligned with the flywheel ring gear. Check your shim placement and mounting bolt torque. A loose starter can shift during operation and cause metal-on-metal contact that damages both gears.
Do I need to bench test the starter before installation?
Bench testing is optional but highly recommended. Jump the large solenoid terminal to the battery post with a screwdriver to verify the motor spins. This quick test catches dead-on-arrival units before you waste time reinstalling a bad part.
How do I know if my battery is strong enough for a new starter?
A healthy battery reads 12.6 volts at rest and stays above 9.6 volts during cranking. If your voltage drops below 9.6 volts while a helper turns the key, replace or recharge the battery before installing the new starter. Weak batteries destroy new starters quickly.
Is a gear-reduction starter worth the extra cost?
Gear-reduction starters draw less current and provide more torque for cold starts. They cost $30 to $70 more than standard units. If you live in a cold climate or tow your Cherokee frequently, the upgrade pays for itself in reliability.

“Cars aren’t just machines. They’re freedom, memory, and a little bit of grease under your fingernails.”
I’m Theodore Roosevelt—though my friends just call me “Ted” (and no, I’m not related to the president, though I do share his love for adventure). I grew up in Detroit in the 1970s, back when the city was still the heart of the American auto industry. My first love was a rusted-out 1967 Mustang my father and I rebuilt in our garage when I was fifteen. That project taught me that cars have souls. After spending twenty years as a mechanic and another ten writing for magazines, I started this blog to help everyday drivers and weekend wrenchers feel confident under the hood. Whether you’re restoring a classic or just trying to keep your daily driver alive for one more winter, I’m here to help you get there.