The open road disappears as dusk settles over the trail, and suddenly your factory headlights are no match for the rugged terrain ahead. For Jeep Wrangler JK owners, this moment is all too familiar. Whether you are navigating a rocky pass or simply driving home through a rural backroad, the need for superior illumination is undeniable. A light bar is not just an accessory; it is a critical upgrade that transforms your JK from a capable daily driver into a true off-road machine, offering safety and confidence when the sun goes down.
This guide is designed to walk you through every step of installing a light bar on your 2007-2018 Jeep Wrangler JK. We will cover everything from choosing the right equipment and wiring safely to mounting the bar securely without damaging your vehicle. By the end of this article, you will have the knowledge to complete this project in a single afternoon, saving you hundreds of dollars in labor costs and giving you the satisfaction of a job well done. Let us light up your adventure.
Choosing the Right Light Bar and Mounting Kit for Your JK
The first and most crucial step in your installation journey is selecting the correct light bar and mounting hardware. For the Jeep Wrangler JK, the most popular sizes are 20-inch and 30-inch single-row bars, or a 50-inch curved bar that sits above the windshield. A 20-inch bar is ideal for bumper or grille mounting, providing a wide flood pattern perfect for trail riding. A 50-inch bar, however, offers maximum distance and coverage, making it the top choice for high-speed desert runs or open country driving. In 2026, LED technology has advanced significantly, so look for bars with at least 12,000 lumens and a color temperature around 5000K to 6000K for a natural white light that reduces eye strain.
Mounting location dictates your kit. The most common options are the A-pillar, the front bumper, and the windshield header. For a clean, no-drill installation, a cowl mount bracket for the A-pillar is excellent for smaller 6-inch to 12-inch bars. For a full-width bar, a heavy-duty roof mount bracket that clamps to the windshield hinge is the standard. Avoid cheap universal brackets made of thin aluminum; invest in powder-coated steel or billet aluminum brackets specifically designed for the JK. These will resist rust and vibration, which is critical because a loose light bar at highway speeds is both dangerous and annoying.
Finally, consider the beam pattern. A combination beam is the most versatile, featuring a mix of spot and flood LEDs. The spot portion throws light far down the trail, while the flood section illuminates the immediate sides and ditches. If you primarily drive on tight, wooded trails, a pure flood pattern is better. For open desert or highway use, prioritize spot beams. Remember to check local laws regarding off-road lights; in many states, light bars must be covered on public roads or used only in conjunction with high beams. Choosing the right bar now will save you from a second purchase later.
Gathering Tools and Preparing Your Jeep for Installation
Before you touch a single bolt, gather all necessary tools and materials. You will need a basic socket set (metric and standard), a set of Allen wrenches, wire strippers, a crimping tool, electrical tape, zip ties, and a multimeter. For the electrical connection, purchase a dedicated wiring harness that includes a relay, an inline fuse, and a switch. Do not use cheap harnesses that come with some light bars; they often use undersized wire that can overheat. A quality harness with 14-gauge or 12-gauge wire is essential for safety and performance. You will also need a fuse tap to connect to your Jeep’s fuse box for a clean, professional look.
Start by disconnecting the negative terminal of your Jeep’s battery. This is a non-negotiable safety step that prevents accidental shorts and protects your vehicle’s sensitive electronics. Next, plan your wire routing. The cleanest path for a roof-mounted bar is to run the wire along the windshield frame, down the A-pillar, and through the firewall grommet on the’s side. For a bumper-mounted bar, you can run the wire along the frame rail and up into the engine bay. Take your time with this step; a messy wire run looks unprofessional and can chafe against metal edges, causing a short or fire.
Lay out your light bar and mounting brackets on a clean work surface. Test-fit the brackets on your Jeep without tightening them fully. This allows you to adjust the position and ensure the bar is centered and level. For windshield mounts, the brackets typically clamp around the hinge bolts. For bumper mounts, you may need to remove the plastic grille or factory bumper caps. Mark any holes you need to drill with a center punch, and use a step drill bit to create clean holes in plastic or metal. Apply a dab of automotive-grade silicone to any drilled holes to prevent rust and water intrusion.
Mounting the Light Bar Securely to Your JK
With your brackets test-fitted, it is to permanently mount the light bar. If you are using a windshield header mount, carefully remove the plastic trim covers on the inside of the windshield frame. The brackets will sandwich the metal frame, using the existing hinge bolts. Apply a small amount of blue Loctite to the bolts to prevent them from vibrating loose. Tighten the bolts to the manufacturer’s specifications, usually around 15-20 foot-pounds. Do not overtighten, as this can crack the windshield or strip the threads in the hinge. Once the brackets are secure, attach the light bar using the provided hardware, but leave it slightly loose to adjust the angle.
For a bumper mount, you will likely be drilling into the steel bumper or using pre-existing holes. Position the bar so it sits level with the ground and does not block airflow to the radiator. Many JK owners prefer a low-profile mount that sits just above the winch plate or below the grille. Use stainless steel hardware to prevent rust. Tighten the bolts in a crisscross pattern to ensure even pressure. If your bar has a rubber gasket between the mounting feet and the bar, ensure it is seated properly to reduce vibration and water ingress.
After the bar is mounted, adjust the vertical angle. A common mistake is aiming the light bar too high, which blinds oncoming traffic and reduces ground illumination. Park your Jeep 25 feet from a flat wall on a level surface. Turn on the light bar and adjust the angle so the top of the beam pattern hits the wall at the same height as the center of the light bar. This provides optimal forward lighting without excessive glare. Tighten all bolts to final torque and double-check every fastener. A loose light bar will wobble and can damage your paint or windshield over time.
Wiring the Light Bar for Safety and Reliability
Now for the electrical heart of the installation. Start by routing the wiring harness from the light bar to the battery. For a roof-mounted bar, run the wire along the windshield frame, using adhesive clips or zip ties to secure it. At the A-pillar, carefully tuck the wire under the rubber door seal. You will need to pass the wire through the firewall. Locate the main wiring grommet on the driver’s side, near the brake booster. Use a screwdriver or a sharp pick to create a small slit in the grommet, then push the wire through from the engine bay side into the cabin. Seal the slit with silicone to prevent exhaust fumes and water from entering.
Inside the cabin, route the wire under the dashboard to your chosen switch location. The most common spot is the blank switch panel to the left of the steering wheel. You can drill a hole for a toggle switch or use a factory-style rocker switch that snaps into the blank panel. Connect the switch according to the harness instructions. Typically, the red wire from the harness connects to the switch’s power terminal, and the black wire goes to a ground point. Use a multimeter to verify you have a good ground by checking for continuity between the ground wire and a bare metal bolt on the chassis.
Back in the engine bay, connect the harness to the battery. The red wire with the inline fuse holder connects to the positive terminal. The black wire connects to the negative terminal or a clean chassis ground. The relay should be mounted to a flat metal surface using a self-tapping screw. This relay is what handles the high current draw of the light bar, protecting your switch from burning out. Finally, plug the harness into the light bar. Before reconnecting the battery, double-check all connections are tight and insulated with electrical tape or heat shrink. Reconnect the battery and the system. Flip the switch and enjoy your new illumination.
Final Adjustments, Testing, and Maintenance Tips
With the wiring complete and the light bar glowing, it is time for a final road test. Drive your Jeep to a dark, open area. Test the light bar in both high-beam and low-beam modes to ensure it does not interfere with your factory lighting. If you wired it to a separate switch, verify that the switch is easily accessible while driving. Pay attention to any flickering, which indicates a loose connection or an inadequate ground. If the light bar flickers, check the ground wire first, as this is the most common culprit. Also, listen for any unusual rattles from the mounting brackets.
Now, perform a vibration test. Drive over a bumpy road or a gravel path at 15-20 mph. If the light bar shakes excessively, the brackets may need tightening, or you may need to add rubber vibration dampers between the bar and the mount. Many aftermarket kits include these, but you can also purchase thin rubber washers at any hardware store. For windshield-mounted bars, excessive vibration can eventually crack the windshield, so address this immediately. A properly installed bar should feel rock-solid, even on rough terrain.
Maintenance is simple but important. Every few months, inspect the wiring for chafing, especially where it passes through the firewall or near sharp metal edges. Clean the light bar lens with a soft cloth and mild soap to bug splatter and mud. Avoid using harsh chemicals or abrasive cleaners, as they can damage the lens coating. Check the bolts for tightness, especially after the first few off-road trips. With proper care, a quality LED light bar will last for years, providing reliable illumination for countless adventures. Remember to always use a light bar cover when driving on public roads to stay legal and respectful to other drivers.
Key Takeaways
- ✓ Choose a light bar size and beam pattern (combination, flood, or spot) based on your primary driving terrain, with 20-inch and 50-inch bars being the most popular for JK models.
- ✓ Invest in vehicle-specific mounting brackets made of steel or billet aluminum to ensure a secure, vibration-free fit that protects your Jeep’s paint and windshield.
- ✓ Always disconnect the battery before starting electrical work and use a dedicated wiring harness with a relay and inline fuse for safe, reliable power delivery.
- ✓ Route wiring through the firewall grommet and use zip ties and adhesive clips to keep the installation clean and prevent chafing against metal edges.
- ✓ Test the light bar angle against a wall at 25 feet to avoid blinding oncoming traffic, and perform a vibration test on rough roads to ensure all fasteners are tight.
Frequently Asked Questions
Is it legal to drive with a light bar on my Jeep Wrangler JK on public roads?
Laws vary by state and country, but generally, off-road light bars are not legal for use on public roads unless they are covered or used only with high beams. Many jurisdictions require a physical cover over the light bar when driving on pavement. Always check your local traffic laws. In 2026, some states have become stricter, so using a snap-on cover is the safest practice to avoid fines.
Can I install a light bar without drilling into my Jeep?
Yes, for certain mounting locations. A-pillar cowl mounts and windshield hinge mounts typically use existing bolts and not require drilling. However, for a bumper-mounted bar, you may need to drill into the bumper or a bracket. If you want a completely no-drill solution, look for a grille insert mount or a license plate bracket mount for smaller light bars.
How do I prevent my light bar from causing radio interference?
Some lower-quality LED light bars can emit electromagnetic interference (EMI) that disrupts AM/FM radio or CB radios. To prevent this, purchase a light bar that is specifically labeled as EMI-shielded or RFI-shielded. You can also add a ferrite choke to the power wire near the light bar, which filters out high-frequency noise. Proper grounding of the light bar and the wiring harness also helps reduce interference.
What size fuse should I use for my light bar wiring?
The fuse size depends on the wattage of your light bar. A general rule is to use a fuse rated for 10-15 amps for a 20-inch bar (around 120-180 watts) and a 20-30 amp fuse for a 50-inch bar (around 240-360 watts). Always use the fuse that comes with your wiring harness, as it is matched to the wire gauge. Never use a fuse with a higher amperage than recommended, as this can cause the wire to overheat and start a fire.
My light bar is dimmer than expected. What could be wrong?
Dimness is usually caused by voltage drop due to undersized wiring or a poor connection. Check that your wiring harness uses least 14-gauge wire. Ensure all connections are clean and tight, especially the ground connection. A corroded ground is the most common cause of dim lights. Also, measure the voltage at the light bar with a multimeter while it is on; it should be within 0.5 volts of battery voltage. If it is lower, you have a resistance issue in the circuit.
Conclusion
Installing a light on your Jeep Wrangler JK is one of the most rewarding and practical upgrades you can make. It not only enhances your ability to navigate challenging trails after dark but also adds an aggressive, purposeful look to your vehicle. By carefully selecting the right components, mounting them securely, and wiring them with safety in mind, you have created a system that will serve you reliably for years. steps outlined in this guide—from choosing the beam pattern to testing for vibration—ensure that your installation is professional-grade, even if it is your first time.
Now it is time to take your newly illuminated JK out for a night drive. Find a local off-road park or a quiet country road to test your setup in real-world conditions. Share your experience with fellow Jeep enthusiasts and consider helping a friend with their own installation. Remember, the best adventures are the ones you can see clearly. So grab your tools, follow this guide, and light up the trail ahead. Your next adventure is waiting, and now you have the perfect light to find it.
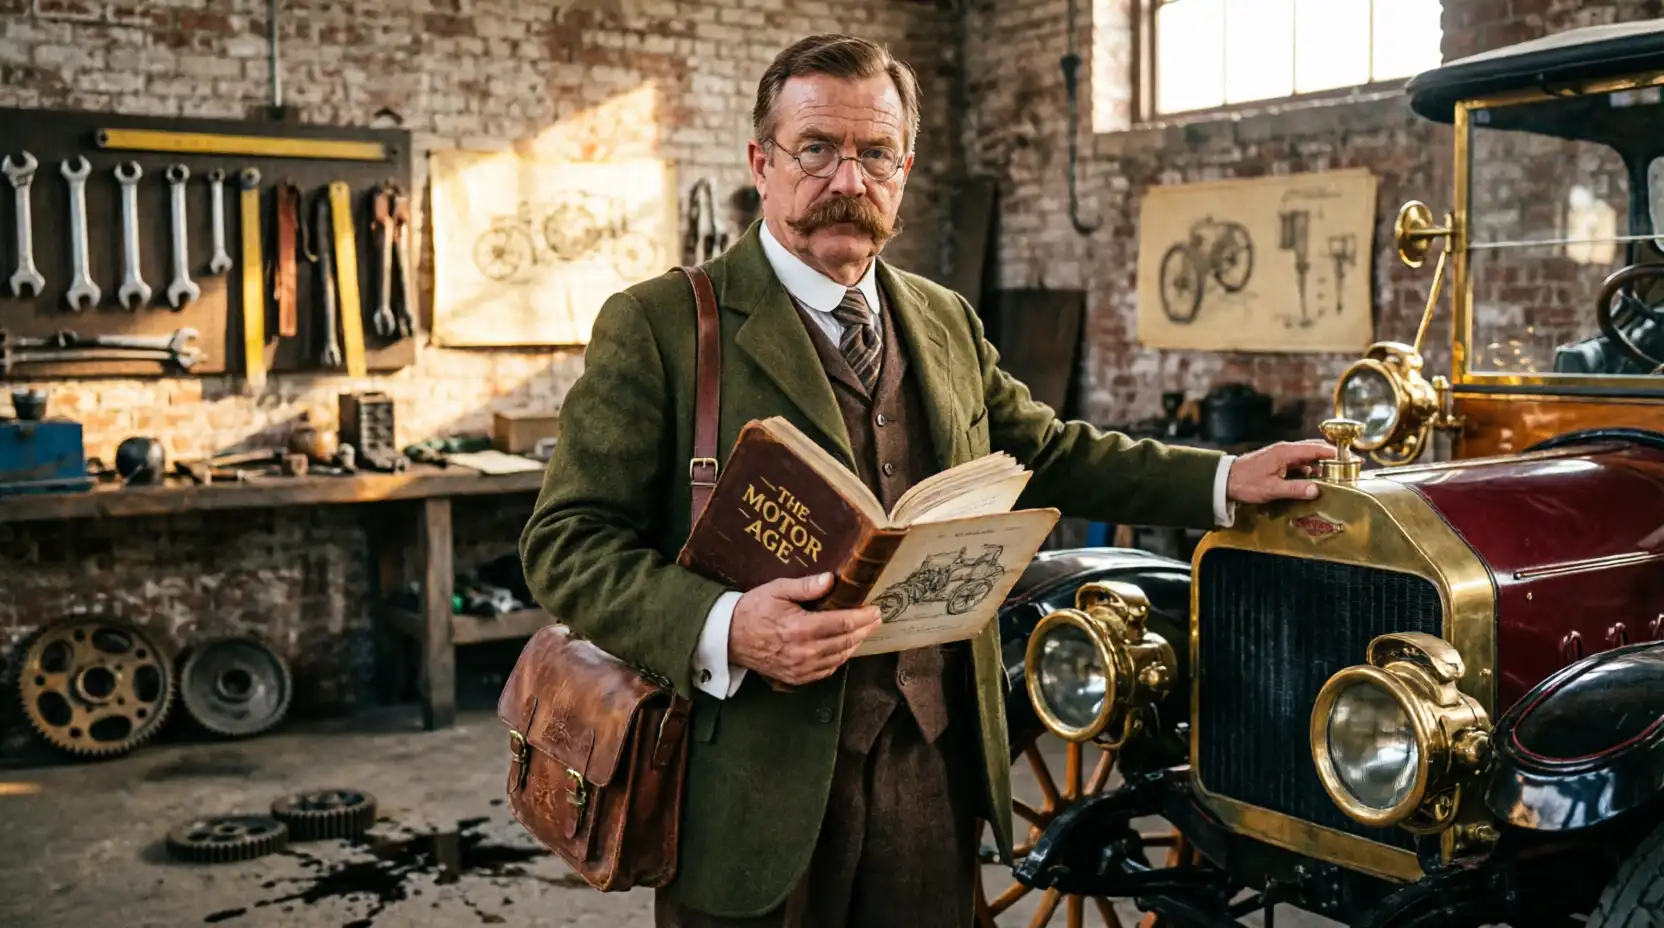
“Cars aren’t just machines. They’re freedom, memory, and a little bit of grease under your fingernails.”
I’m Theodore Roosevelt—though my friends just call me “Ted” (and no, I’m not related to the president, though I do share his love for adventure). I grew up in Detroit in the 1970s, back when the city was still the heart of the American auto industry. My first love was a rusted-out 1967 Mustang my father and I rebuilt in our garage when I was fifteen. That project taught me that cars have souls. After spending twenty years as a mechanic and another ten writing for magazines, I started this blog to help everyday drivers and weekend wrenchers feel confident under the hood. Whether you’re restoring a classic or just trying to keep your daily driver alive for one more winter, I’m here to help you get there.