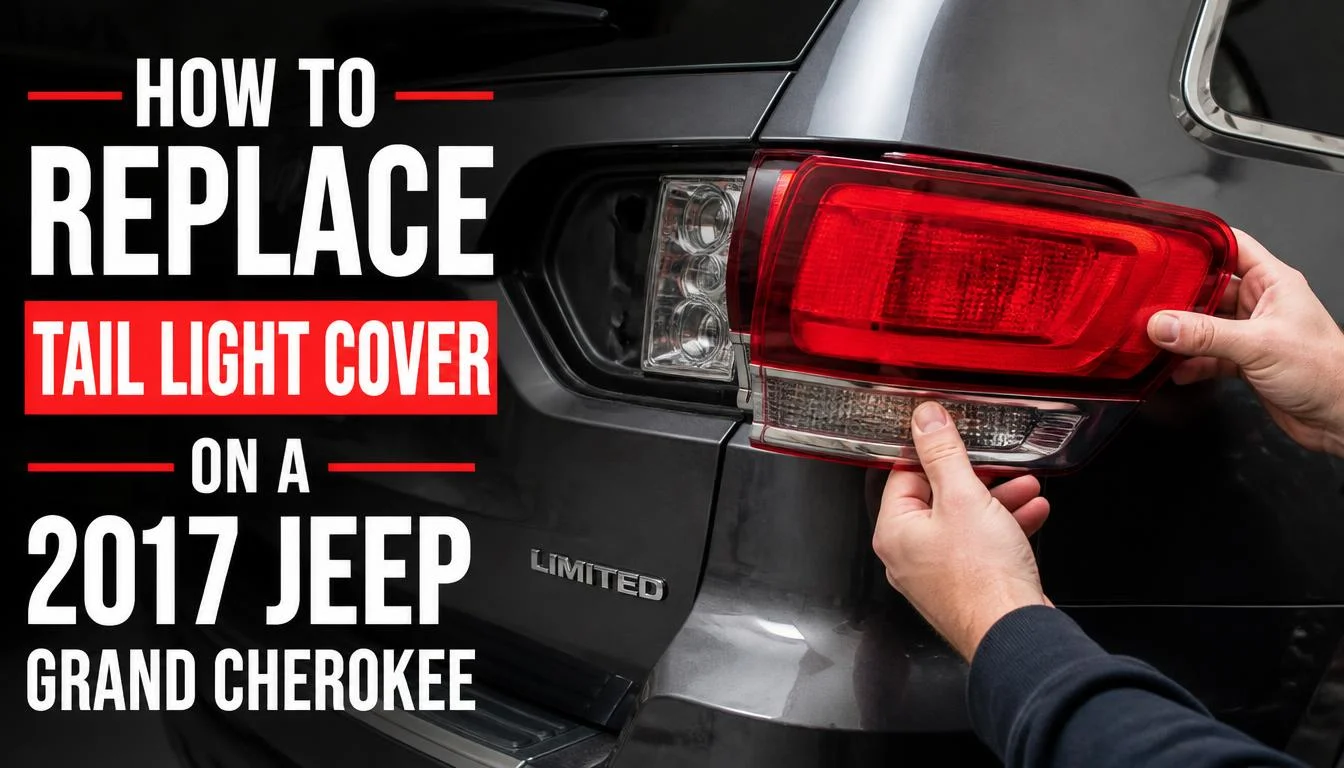
A cracked or broken tail light cover on a 2017 Jeep Grand Cherokee should be dealt with before moisture, dirt, or further damage reaches the lamp. The important first step is figuring out what is actually broken. What many drivers call a tail light cover may be the outer bezel, the red lens/housing, or the complete tail light assembly.
For the body-side rear lamp, Jeep’s 2017 Grand Cherokee owner’s manual shows a fairly simple removal process: open the liftgate, remove two push-pins, and pull the lamp straight rearward from the body.
This guide explains how to identify the correct part, remove the damaged tail light safely, install the replacement, and deal with common problems along the way.
Can You Replace Just the Tail Light Cover on a 2017 Jeep Grand Cherokee?
Sometimes, but it depends on what you mean by “cover.”
There are several different parts around the rear lamp:
- Tail light bezel: The trim surrounding or finishing the lamp.
- Tail light lens: The clear or colored outer surface of the lamp.
- Tail light housing: The main sealed body of the lamp.
- Tail light assembly: The complete lamp unit containing the housing, lens, mounting points, and lighting components.
Mopar’s official parts catalog lists separate tail lamp bezel kits for the 2014–2021 Grand Cherokee, which confirms that some exterior trim around the lamp is available separately.
However, if the actual red or clear lens is cracked, you may find that the practical replacement is the complete lamp housing or assembly rather than a separate OEM lens. Mopar catalogs the rear lights as complete tail lamp units as well. For example, its catalog lists a right-side tail lamp for certain 2017–2021 Grand Cherokee applications.
Before ordering anything, look closely at the damaged area. A broken trim bezel requires a different repair from a cracked lamp lens.
How to Tell Which Tail Light Part Is Damaged
Stand behind the Jeep with the lights turned off and inspect the damaged side.
If only a decorative plastic trim piece is scratched, loose, or broken, you may need a tail lamp bezel.
If the red or clear surface directly covering the light is cracked, chipped, or missing, the damage is in the lens or housing.
If the mounting tabs are broken, the lamp is loose, moisture has entered the unit, or part of the internal LED section has failed, replacing the complete tail light assembly may make more sense.
If the housing looks fine but one function has stopped working, check the bulb or electrical system before buying a new assembly.
Which 2017 Jeep Grand Cherokee Tail Light Do You Need?
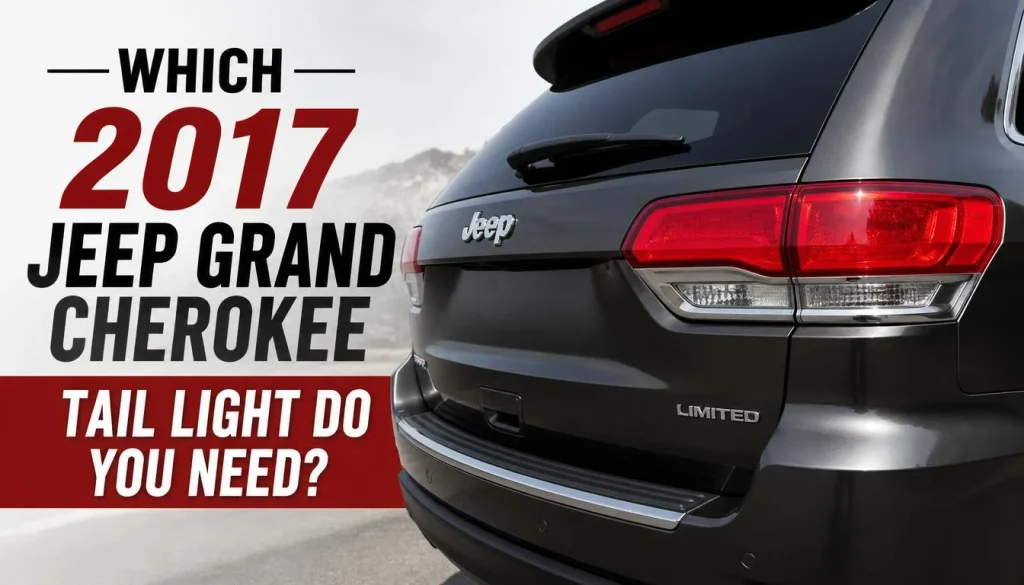
Do not order a replacement simply because the product title says “2017 Jeep Grand Cherokee.
Several details matter.
Driver Side vs Passenger Side
Left and right tail lamps are different parts. Make sure the listing matches the damaged side of your Jeep.
When shopping online, you may see:
- Driver side
- Passenger side
- Left or LH
- Right or RH
Check the product photos and fitment information before ordering.
Outer Tail Light vs Liftgate Tail Light
The Grand Cherokee has rear lamp sections mounted in different locations.
The outer or body-side lamp sits beside the liftgate and is attached to the rear quarter area.
There are also liftgate-mounted rear lamps. Jeep’s owner’s manual treats the liftgate lamps separately and gives a different access procedure for them.
That distinction matters. An outer lamp cannot simply be substituted for an inner liftgate lamp.
Check Trim, Lighting Package, and VIN
The 2017 Grand Cherokee was offered with different equipment configurations. The owner’s manual, for example, identifies LED elements in several rear-lighting positions and replaceable bulbs in others. It lists the rear body-side tail lamp as LED, while the rear body-side stop lamp and turn signal use replaceable bulb types.
The safest way to order is to verify:
- Model year
- Jeep Grand Cherokee, not Jeep Cherokee
- Trim level
- Driver or passenger side
- Outer or liftgate position
- Existing connector and housing design
- OEM or manufacturer part number
- VIN compatibility when available
Do not assume that every lamp advertised for a broad range of Grand Cherokee years will match your exact vehicle.
Tail Light Cover Replacement vs Tail Light Bulb Replacement
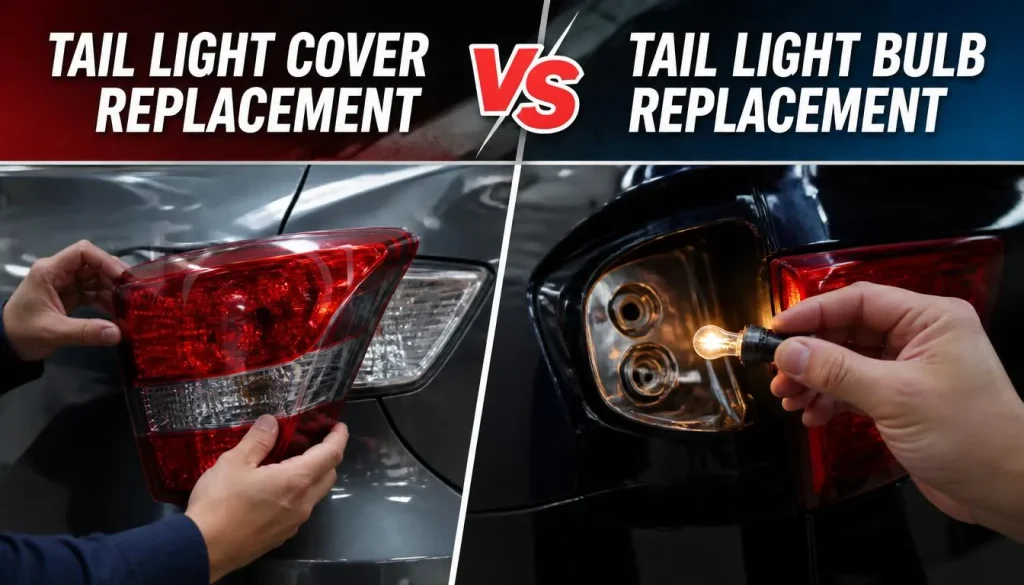
A broken cover and a failed bulb are different repairs.
You probably need a housing or assembly replacement if:
- The lens is cracked
- Part of the lens is missing
- The housing is broken
- Mounting tabs have snapped
- Water repeatedly enters the lamp
- The complete lamp is physically damaged
You may only need a bulb replacement if the housing is intact and one replaceable lighting function has stopped working.
The 2017 owner’s manual lists a 7440NA bulb for the rear body-side turn signal and a 3157KRD LCP bulb for the rear body-side stop lamp. It identifies the body-side tail lamp and auxiliary liftgate tail lamps as LED components.
Diagnose the problem before spending money on a full assembly.
Tools and Parts You’ll Need
For a basic outer tail light housing replacement, prepare:
- Correct replacement tail light assembly, housing, or bezel
- Plastic trim-removal tool
- Small flat screwdriver or suitable push-pin tool
- Clean microfiber cloth
- Work gloves
- Safety glasses
- Painter’s tape, optional
- Flashlight
You normally do not need a large collection of tools to remove the body-side tail lamp because Jeep uses two push-pin retainers at the liftgate-side edge of the housing.
A plastic trim tool is safer around painted surfaces than forcing the clips with a large metal screwdriver.
How to Replace Tail Light Cover on a 2017 Jeep Grand Cherokee
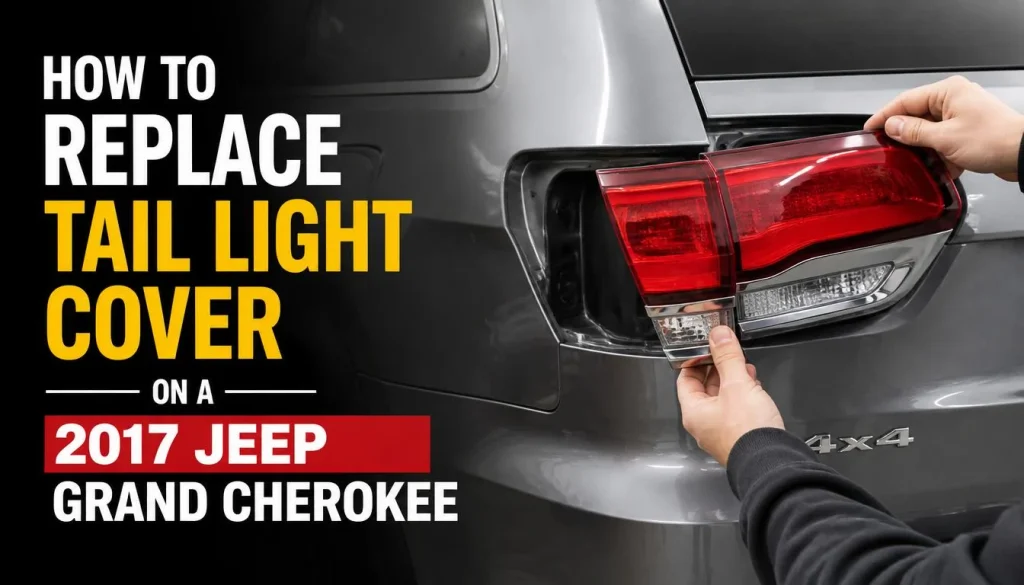
The following procedure focuses on the outer body-side rear tail light assembly, which is the part many owners are referring to when they search for a tail light cover.
Step 1: Park the Jeep Safely
Park on a level surface.
Shift into Park, switch off the ignition, and turn off all exterior lights. Keep the key or key fob away from the vehicle while you work so the lights are not activated unexpectedly.
Open the rear liftgate.
Step 2: Protect the Area Around the Tail Light
If you are worried about scratching the paint, place painter’s tape along the painted edge beside the lamp.
Do not cover the retaining clips themselves.
Wipe away heavy dirt around the housing. This prevents grit from being dragged across the paint when the lamp comes out.
Step 3: Locate the Two Tail Light Push-Pins
Look at the inner edge of the outer tail lamp, which becomes accessible after opening the liftgate.
You should see two push-pin retainers.
The official Jeep procedure specifically calls for removing these two push-pins before pulling the body-side lamp out.
Step 4: Remove the Push-Pins Carefully
Use a trim tool or a suitable small tool to release each push-pin.
Do not rush this step. Old plastic clips can become brittle.
If a pin is damaged during removal, replace it rather than forcing a loose or broken retainer back into place.
Put the clips somewhere safe.
Step 5: Pull the Tail Light Straight Rearward
Grip the lamp housing firmly with both hands.
Pull it rearward, rather than twisting it sideways.
Jeep’s manual instructs the owner to pull the tail lamp firmly rearward to disengage it from the body aperture panel.
Avoid prying against the painted body with a screwdriver. If the lamp feels stuck, apply steady pressure and gently work it rearward.
Do not yank it suddenly because wiring is still attached behind the housing.
Step 6: Identify the Connections Behind the Lamp
Once the housing is free, support it so its weight is not hanging from the wiring.
Jeep’s rear-lamp diagram identifies:
- Rear turn/stop bulb socket
- LED tail connector
- Backup bulb socket
The owner’s manual specifically marks the LED tail connector as “Do Not Remove” during the bulb-replacement procedure.
That instruction is important when you are only replacing a bulb.
If you are installing an entire replacement lamp assembly, follow the connector and wiring instructions supplied with that exact replacement assembly. Do not pull on wires or force an electrical connector that does not release easily.
Step 7: Inspect the Old Housing
Before installing the new part, take a minute to inspect the damage.
Check for:
- Cracks
- Broken mounting tabs
- Missing clips
- Moisture
- Corrosion
- Melted bulb sockets
- Damaged wires
- Dirt around the body opening
If you find heavy corrosion or damaged wiring, replacing the housing alone may not solve the problem.
Step 8: Transfer Reusable Parts if Required
Some replacement housings arrive complete. Others require you to transfer bulb sockets, bulbs, wiring, seals, or other pieces from the old unit.
Compare the old and new lamps before installing anything.
Everything should match:
- Mounting tabs
- Pin locations
- Connector positions
- Socket openings
- Housing shape
If something looks different, stop and verify the part number.
Step 9: Install the Replacement Tail Light
Reconnect or transfer the required components according to the replacement part design.
Position the lamp against the body.
Line up the locating pins and mounting points before applying pressure.
Push the housing forward evenly until it sits properly against the body.
Do not force the lamp if the gaps around it look uneven. A connector, locating pin, or wiring harness may be out of position.
Step 10: Reinstall the Push-Pins
Insert the two push-pin retainers you removed earlier.
Make sure both are properly seated.
The lamp should feel solid when gently checked by hand. It should not rock or move away from the body.
Step 11: Test Every Rear-Light Function
Before considering the job finished, test the entire lamp.
Check:
- Tail/running light
- Brake light
- Left or right turn signal
- Hazard lights
- Reverse light where applicable
Having another person stand behind the Jeep makes this easier.
If you are working alone, park where you can see the reflection of the rear lamps in a garage door, wall, or window.
How to Replace the Outer Tail Light Assembly
For the outer body-side lamp, the basic removal sequence is straightforward:
- Raise the liftgate.
- Remove the two push-pins.
- Pull the housing straight rearward.
- Access the sockets and connections behind it.
- Transfer any required components.
- Install the replacement housing.
- Reinstall the retainers.
- Test the lights.
Those first removal steps follow Jeep’s own 2017 Grand Cherokee bulb-service procedure.
The key is not to confuse removing the housing for access with replacing every electrical component inside it.
How to Access the Inner Liftgate Tail Light
The inner liftgate-mounted light uses a different procedure.
According to Jeep’s owner’s manual, access begins by raising the liftgate and carefully prying the lower interior trim panel away from it. The trim is then removed far enough to disconnect its two panel lights and reach the rear lamp sockets.
If your damaged “tail light cover” is actually the lamp mounted on the liftgate, do not follow the outer-lamp push-pin procedure and expect the inner lamp to come out the same way.
For interior trim:
- Use a plastic trim tool.
- Work around the clips gradually.
- Do not pull the panel sharply.
- Watch for wiring connected to trim-panel lights.
- Keep track of all clips before reassembly.
If complete liftgate lamp removal requires steps beyond normal bulb access, use the service instructions supplied for the specific replacement part.
How to Replace a Tail Light Bezel or Trim
If the lamp works properly and the damage is only to the surrounding trim, you may need a bezel rather than a complete lamp.
Mopar lists separate tail lamp bezel kits for Grand Cherokee applications in this model-year range.
Before ordering one:
- Confirm which trim piece is damaged.
- Check driver/passenger side.
- Match the finish and lamp configuration.
- Confirm fitment using your VIN when possible.
- Compare the replacement bezel with the original before removing more parts.
Do not replace a complete working lamp simply because a removable trim piece is damaged.
What If Only the Tail Light Lens Is Cracked?
This is where the term “tail light cover” causes the most confusion.
If the actual red or clear lens bonded to the lamp housing is cracked, first check whether a quality replacement lens exists specifically for your housing.
A separate aftermarket lens may occasionally be available, but replacing a bonded lens usually requires opening and resealing the lamp. A poor seal can create another problem: moisture inside the housing.
For many owners, replacing the complete damaged housing is the cleaner solution.
Before choosing a lens-only repair, consider:
- How large the crack is
- Whether moisture has entered
- Whether mounting tabs are damaged
- Whether the housing is distorted
- Whether a correct replacement lens is available
- Whether you can reseal the lamp properly
Can You Temporarily Seal a Cracked Tail Light?
A temporary seal may keep water out until you can replace the damaged part, but it should not be treated as a permanent structural repair.
If you need a short-term solution:
- Clean and dry the damaged area.
- Keep moisture out as much as possible.
- Do not cover required lighting with opaque material.
- Replace the damaged housing or lens as soon as practical.
Large cracks, missing plastic, damaged mounting points, or electrical problems deserve proper replacement rather than repeated patching.
How to Deal With Water or Condensation Inside the Tail Light
A cracked housing is not the only reason moisture can appear.
Check:
- Lens cracks
- Housing seams
- Rear seals
- Bulb sockets
- Missing caps
- Damaged mounting points
- Incorrectly installed replacement parts
A few drops after obvious physical damage are a strong reason to inspect the entire housing.
If water has reached electrical connections, disconnect power as appropriate and allow the area to dry before deciding whether wiring, sockets, or the complete assembly also need repair.
Simply drying the housing without fixing the entry point usually means the moisture will return.
Common Problems During Tail Light Replacement
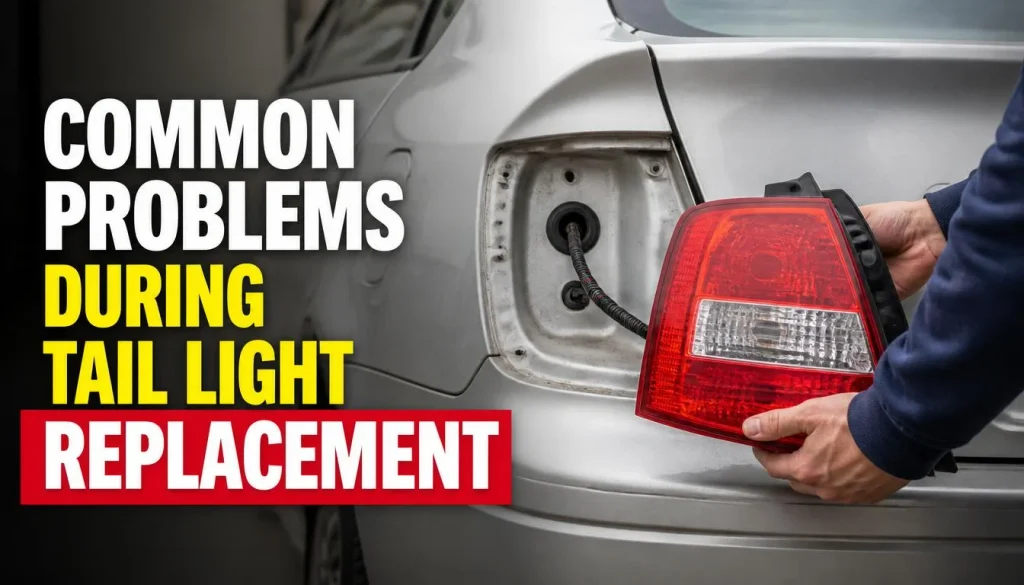
The Tail Light Will Not Come Out
First confirm that both push-pins have been completely removed.
Then pull the housing straight toward the rear of the Jeep. The factory procedure specifies rearward movement.
Do not twist aggressively from side to side.
A Push-Pin Broke
Replace it.
A broken or badly worn retainer may prevent the housing from sitting securely.
These clips are inexpensive compared with the cost of damaging a new lamp because it was not properly mounted.
The Electrical Connector Will Not Release
Look for a locking tab.
Press the release rather than pulling harder on the wires.
If a connector looks different from the one on the replacement lamp, stop and check fitment before modifying anything.
The New Tail Light Does Not Sit Flush
Remove it and check:
- Mounting pins
- Wiring position
- Retaining clips
- Housing shape
- Part number
- Left/right orientation
Never use the push-pins to force a poorly aligned housing into position.
The Tail Light Still Does Not Work
If the replacement housing is installed correctly but a light remains out, check:
- Bulb
- Socket
- Connector
- Wiring
- Fuse where applicable
- LED portion of the lamp
A physical housing replacement will not repair a separate electrical fault.
The Turn Signal Flashes Very Fast
The 2017 owner’s manual notes that a rapid turn-signal indicator can indicate an inoperative exterior bulb.
Check both front and rear turn-signal functions and verify that the correct bulb or lamp is operating.
Common Mistakes to Avoid
A tail light replacement is not difficult, but small mistakes can make the job expensive.
Avoid these common problems:
Ordering a Jeep Cherokee part instead of a Grand Cherokee part. They are different vehicles.
Buying the wrong side. Left and right housings are not interchangeable.
Confusing an inner lamp with an outer lamp. Their mounting and access methods are different.
Assuming “tail light cover” is an exact part name. Identify whether you need the bezel, housing, lens, or full assembly.
Prying against painted bodywork. Use controlled rearward pressure and a trim tool where needed.
Forcing connectors. Find the release tab before pulling.
Ignoring broken mounting tabs. A lamp that cannot mount securely should not simply be pushed back into place.
Skipping the final test. Check every lighting function before driving.
OEM vs Aftermarket Tail Lights
Both can work well when the part is correct.
OEM Mopar Tail Light
OEM parts are designed around the original vehicle configuration. Mopar’s official catalog provides separate lamp and bezel listings and allows vehicle-fitment checking.
An OEM unit may be worth considering when exact appearance and factory-style fit are priorities.
Aftermarket Tail Light
Aftermarket assemblies can offer more choices and may cost less.
Before buying, check:
- Exact model year range
- Grand Cherokee compatibility
- Side
- Inner or outer position
- Connector type
- LED or bulb configuration
- Included bulbs and sockets
- Warranty
- Seller’s fitment notes
The cheapest listing is not a bargain if it does not fit correctly.
How to Verify Fitment Before Buying
Use this quick checklist before ordering:
- Vehicle: 2017 Jeep Grand Cherokee
- Correct side: left/driver or right/passenger
- Correct position: outer body-side or inner liftgate
- Correct trim/equipment
- Matching housing design
- Matching electrical connections
- Matching OEM/reference part number
- VIN verification when available
Mopar itself recommends adding the vehicle to its catalog to confirm whether a listed part fits, which is a good habit even when shopping from another supplier.
How Much Does It Cost to Replace a 2017 Jeep Grand Cherokee Tail Light?
There is no single accurate price because the cost changes depending on what is actually damaged.
A small bezel can cost far less than a complete lamp assembly. OEM and aftermarket assemblies can also differ significantly in price, and LED-equipped components may cost more than a simple bulb repair.
Your total cost normally depends on:
- Bezel vs complete housing
- OEM vs aftermarket
- Left or right side
- Outer vs liftgate lamp
- New vs used part
- Included bulbs or electronics
- Local labor rates
For a DIY replacement, most of the expense is the part itself.
For professional replacement, add diagnosis and labor.
If you are comparing prices online, verify fitment before using the lowest advertised price as your budget.
How Long Does Tail Light Replacement Take?
For the body-side outer lamp, access is relatively simple because the factory process involves opening the liftgate, removing two push-pins, and pulling the housing rearward.
A straightforward replacement can therefore be a manageable DIY job.
Allow extra time if:
- Clips are stuck
- The vehicle has previous collision damage
- Wiring is damaged
- Water has caused corrosion
- You are replacing an inner liftgate lamp
- Interior trim must be removed
- The replacement part does not match the original
Do not rush simply to meet a time estimate.
Can You Drive With a Cracked Tail Light Cover?
A small cosmetic scratch is different from a broken lens.
If the crack exposes the inside of the housing, allows water in, changes the visible light output, or leaves the lamp loose, repair it promptly.
Lighting and roadworthiness rules vary between the USA, UK, Canada, and Australia—and can also vary by state, province, or territory—so check the rules that apply where the Jeep is registered.
From a practical standpoint, the rear lights need to remain clearly visible and securely mounted.
When Should You Let a Mechanic Handle the Repair?
Consider professional help if:
- Wiring is burned or damaged
- A connector has melted
- The lamp repeatedly blows bulbs
- Water has caused heavy corrosion
- The body mounting point is bent
- Previous accident damage prevents alignment
- An LED section has failed internally
- You cannot identify the correct replacement part
- The new lamp still does not work after installation
A simple cracked housing can be a DIY repair. An electrical diagnosis is a different job.
FAQs
Can I Replace Just the Tail Light Cover on a 2017 Jeep Grand Cherokee?
It depends on which piece you call the cover. A separate bezel is available for some applications, but damage to the bonded lens or housing may require replacement of the complete lamp assembly. Mopar catalogs both bezel kits and complete tail lamps for this Grand Cherokee generation.
How Do You Remove the Tail Light on a 2017 Jeep Grand Cherokee?
For the outer body-side rear lamp, open the liftgate, remove the two push-pins beside the lamp, grip the housing, and pull it firmly straight toward the rear of the vehicle. That is the removal method shown in Jeep’s 2017 owner’s manual.
How Do I Remove the Tail Light Housing?
Remove the two retaining push-pins and pull the body-side housing rearward. Support the lamp once it comes free so you do not put tension on its wiring.
What Is the Difference Between a Tail Light Lens and a Tail Light Assembly?
The lens is the outer transparent or colored portion of the lamp. The assembly is the complete unit, including the lens, housing, mounting points, and applicable lighting components.
Does the 2017 Jeep Grand Cherokee Have LED Tail Lights?
Some rear-lighting functions use LEDs. The 2017 owner’s manual identifies the rear body-side tail lamps and auxiliary liftgate tail lamps as LED, while also listing replaceable bulbs for other rear-light functions.
What Bulbs Are Used in the Rear Body-Side Tail Lamp?
The owner’s manual lists 7440NA for the rear body-side turn signal and 3157KRD LCP for the body-side stop lamp. The body-side tail-light function itself is listed as LED.
How Do I Know Which Tail Light Fits My Grand Cherokee?
Match the year, model, side, lamp position, lighting configuration, connectors, and part number. Use VIN-based fitment verification whenever possible.
Are Driver and Passenger Tail Lights Different?
Yes. Left and right lamps are side-specific, so order the part for the damaged side.
Is the Liftgate Tail Light Removed the Same Way as the Outer Light?
No. Jeep’s manual shows that accessing the liftgate-mounted lamps involves removing the lower liftgate interior trim, while the outer body-side housing is released using two push-pins.
Can You Repair a Cracked Tail Light Lens?
Minor damage can sometimes be temporarily sealed, but a badly cracked, missing, leaking, or structurally damaged lens is better addressed with a proper replacement part.
Why Is There Water Inside My Tail Light?
Inspect the lens, housing seams, bulb sockets, seals, and any recent repair work. A cracked housing or poorly sealed replacement can allow moisture to enter.
Why Does My New Tail Light Not Work?
Check the bulb, sockets, connectors, wiring, and correct part fitment. If only one function fails, the problem may not be the housing itself.
Do I Need to Disconnect the Battery to Replace the Outer Tail Light?
For normal bulb access, Jeep’s owner’s manual does not include battery disconnection among the listed rear tail-lamp steps. However, if you are repairing damaged wiring or working beyond normal lamp replacement, follow the appropriate service procedure for that electrical repair.
Can I Replace a Jeep Grand Cherokee Tail Light Myself?
If the damage is limited to the outer housing and there are no wiring or body problems, the job is within reach of many DIY owners. The body-side lamp is retained by two push-pins and pulls rearward once they are removed.
Final Thoughts
Replacing a tail light cover on a 2017 Jeep Grand Cherokee becomes much easier once you identify the damaged part correctly.
If the problem is only cosmetic trim, look for the correct tail lamp bezel. If the actual lens or housing is cracked, a complete tail light assembly may be the more practical replacement. If the housing is fine and only one light has stopped working, diagnose the bulb or electrical circuit first.
For the outer body-side lamp, remember the key sequence: open the liftgate, remove the two push-pins, and pull the lamp straight rearward. That basic method comes directly from Jeep’s 2017 Grand Cherokee owner’s manual.
Take your time, verify fitment before ordering, protect the paint while working, and test every rear-light function after installation. A few extra minutes spent checking the correct part can save you from buying the wrong lamp—or doing the job twice.
“Cars aren’t just machines. They’re freedom, memory, and a little bit of grease under your fingernails.”
I’m Theodore Roosevelt—though my friends just call me “Ted” (and no, I’m not related to the president, though I do share his love for adventure). I grew up in Detroit in the 1970s, back when the city was still the heart of the American auto industry. My first love was a rusted-out 1967 Mustang my father and I rebuilt in our garage when I was fifteen. That project taught me that cars have souls. After spending twenty years as a mechanic and another ten writing for magazines, I started this blog to help everyday drivers and weekend wrenchers feel confident under the hood. Whether you’re restoring a classic or just trying to keep your daily driver alive for one more winter, I’m here to help you get there.